A backyard covered patio with a fireplace doesn’t just extend living space, it fundamentally changes how a homeowner uses their yard. Instead of retreating indoors when temperatures drop or summer storms roll in, families can keep the gathering going year-round. This combination of shelter and heat source creates a true outdoor room, complete with ambiance and function. Building one requires navigating structural decisions, fireplace fuel types, material selection, and budget realities. This guide walks through the planning, construction, and finishing decisions that turn a concrete slab into a destination worth stepping outside for.
Table of Contents
ToggleKey Takeaways
- A backyard covered patio with fireplace extends your outdoor living space year-round while adding significant property value and functionality to your home.
- Fuel type selection—wood-burning, gas, or electric—directly impacts installation costs, maintenance requirements, and heating output, ranging from $800 to $5,000 depending on the system.
- Proper planning requires navigating local building codes and permits (typically 4–8 weeks), foundation work, structural design, and utility integration before construction begins.
- Budget $10,000–$20,000 for a turnkey 14×16-foot covered patio with fireplace build, with potential savings of 30–40% if you self-perform framing and finishing work.
- Finishing touches including weather-resistant furniture, layered lighting, proper drainage, and seasonal maintenance features transform your covered patio into a stylish, functional outdoor room.
Why Add a Covered Patio with Fireplace to Your Backyard?
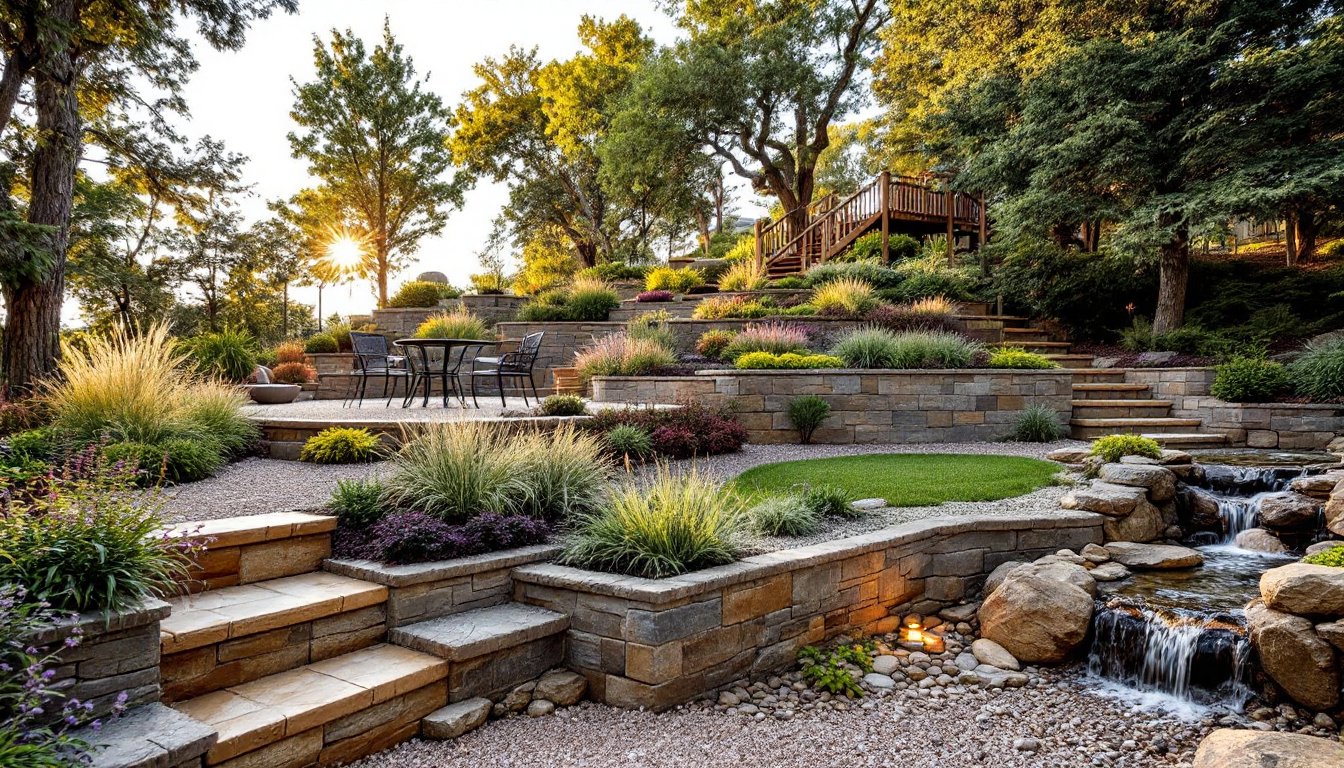
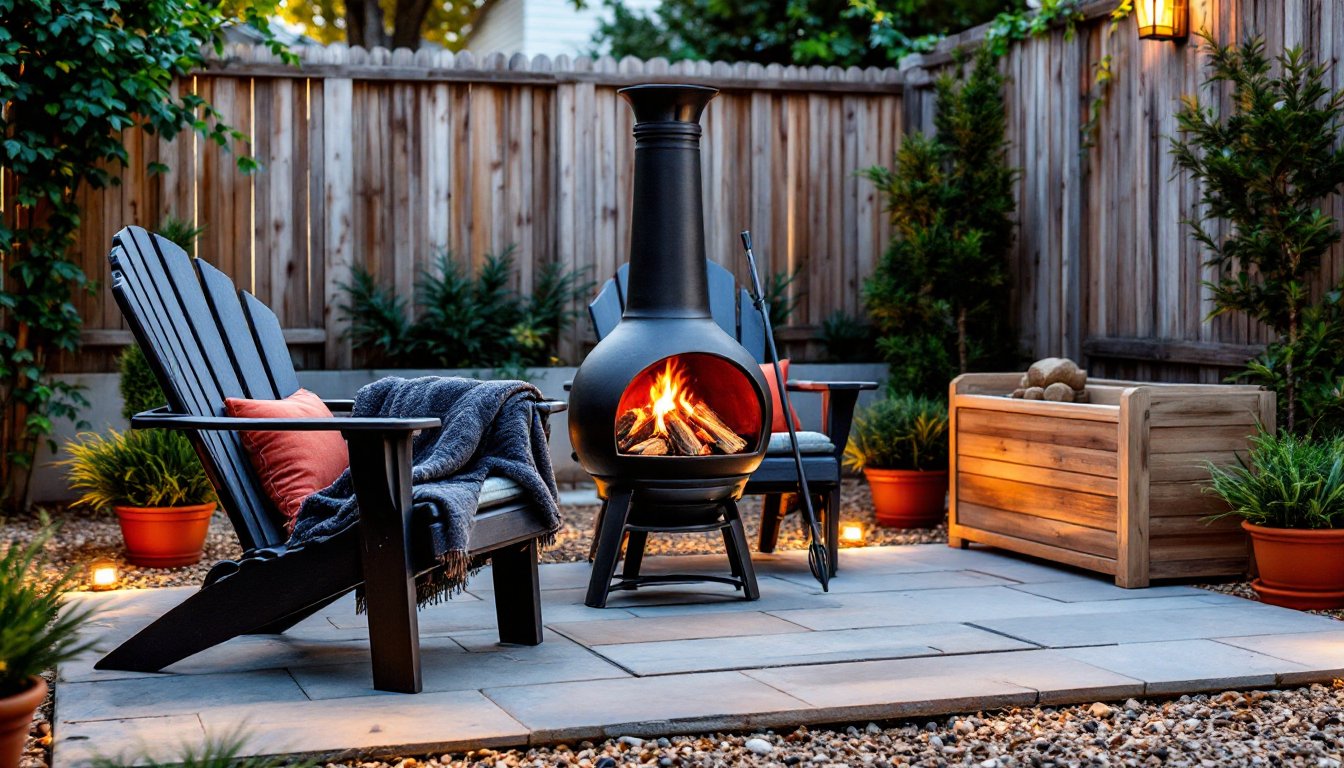
The appeal isn’t purely aesthetic. A covered patio extends usable outdoor space by shielding furniture and guests from sun, rain, and debris. Adding a fireplace pushes that utility into cooler months, spring evenings, fall gatherings, even mild winter afternoons become viable outdoor events.
From a property value standpoint, outdoor living features consistently rank high with buyers. A well-executed patio with a permanent fireplace signals thoughtful design and functionality. It’s not just a fire pit on pavers: it’s finished space with a roof structure, often wired for lighting and sometimes plumbed for a wet bar or outdoor kitchen tie-in.
There’s also the practical matter of zoning. Covered patios allow smokers, grillers, and fireplace users to operate outside without tracking ash or smoke indoors. The roof keeps rain off the flames (critical for wood-burning setups) and protects seating areas from UV degradation. Homeowners who host regularly find the ROI comes quickly in reduced indoor wear and expanded entertaining capacity.
Planning Your Covered Patio and Fireplace Design
Start with the footprint. Most covered patios range from 12×12 feet to 16×20 feet, balancing usable space against material cost and visual proportion. Measure from the house foundation outward, accounting for door swing clearances and any existing landscaping or utilities.
Roof structure is the next decision. Gable roofs shed water efficiently and allow vaulted ceilings: hip roofs offer a more finished look from all angles: flat or shed roofs simplify tie-ins to existing house rooflines. All require proper flashing and integration with the main structure if attaching directly to the home. Freestanding pavilions avoid cutting into house siding but demand independent footings and posts.
Fireplace placement matters for both safety and traffic flow. Position it on an exterior wall or as a freestanding central feature, but never directly under the main roof ridge where heat accumulates. Maintain minimum clearances from combustibles: most codes require 3 feet from wood framing for masonry fireplaces, more for some prefab models. Check local fire codes, some jurisdictions restrict wood-burning fireplaces entirely in certain zones.
Don’t skip the permit phase. Covered patios often trigger zoning review for setbacks, lot coverage, and height restrictions. Fireplaces, especially wood-burning masonry types, require building permits and inspections in nearly all municipalities. Plan for 4–8 weeks of review time in most areas.
Consider existing utilities. If running gas or electric to the fireplace location, trenching and conduit work need to happen before pouring slabs or setting posts. Designs incorporating backyard makeovers often bundle patio, fireplace, and landscape lighting on a single electrical/gas plan to streamline permitting.
Choosing the Right Fireplace Type for Your Covered Patio
Fuel type drives cost, maintenance, and ambiance. Each has trade-offs worth understanding before framing begins.
Wood-Burning vs. Gas vs. Electric Fireplaces
Wood-burning fireplaces deliver authentic crackle and aroma but demand the most work. Masonry construction requires a concrete footing below frost line (typically 18–42 inches depending on region), firebrick-lined firebox, and a UL-listed chimney assembly extending at least 2 feet above the roofline. Expect to budget for annual chimney sweeping and occasional repointing of mortar joints. Wood storage and ash disposal are ongoing chores. Prefab wood-burning units (like those detailed on Sunset Magazine’s outdoor fireplace guide) simplify installation but still require proper venting and clearances.
Gas fireplaces (natural gas or propane) eliminate ash and simplify lighting. Direct-vent models pull combustion air from outside and vent horizontally, avoiding tall chimneys. Installation requires a licensed gas fitter to run black iron or CSST flexible line from the meter, plus a dedicated shutoff valve within 6 feet of the appliance. Remote ignition and flame-height controls add convenience. Annual inspection of burner jets and pilot assemblies is recommended. Gas models don’t produce the same heat output as wood, most top out around 40,000–60,000 BTU.
Electric fireplaces are the simplest install: a weatherproof 120V or 240V circuit and a GFCI-protected outlet. No venting, no fuel storage, no chimney. Heat output is modest (typically 5,000 BTU max), but LED flame effects have improved dramatically. They’re ideal for mild climates or patios where ambiance outweighs serious heating. Operating cost runs higher per BTU than gas or wood, but installation cost is a fraction of the alternatives.
Homeowners weighing options often explore ideas on platforms like Houzz to see finished examples across fuel types before committing to one system.
Essential Materials and Construction Considerations
Foundation work depends on soil and climate. In freeze-thaw regions, footings must extend below frost line to prevent heaving. Sonotube piers filled with rebar-reinforced concrete support posts: a monolithic slab works if the patio won’t bear heavy masonry. Minimum slab thickness for a covered patio is 4 inches over compacted gravel base, with 6×6 W1.4×W1.4 welded wire mesh or rebar grid for crack control.
Post-and-beam framing typically uses 6×6 pressure-treated posts on galvanized post bases, with 4×6 or doubled 2×8 beams spanning between. Roof rafters are usually 2×6 or 2×8 lumber on 16-inch or 24-inch centers, depending on snow load and span tables from the International Residential Code (IRC). Always consult local load requirements, coastal wind zones and mountain snow zones have different engineering demands.
Roofing options include standing-seam metal (durable, low-maintenance), architectural shingles (matches most homes), or corrugated polycarbonate panels (budget-friendly, lets diffused light through). All require proper slope for drainage: minimum 1/4 inch per foot to prevent ponding.
Fireplace surrounds and hearths need non-combustible materials. Firebrick, natural stone, stucco over cement board, or cultured stone veneer all work. Avoid vinyl or wood siding within clearance zones. Hearth extensions must project at least 16 inches in front of the firebox opening and 8 inches to each side per IRC standards for wood-burning units.
Electrical rough-in should include dedicated circuits for ceiling fans (essential for summer use), recessed or pendant lighting, and outlets every 6 feet along walls. Use wet-location-rated fixtures and GFCI protection on all receptacles. If planning a TV or sound system, run conduit for future cable pulls.
Don’t forget drainage. Gutters and downspouts prevent erosion around footings. Slope finished patio surfaces 1–2% away from the house to keep water from pooling or running toward the foundation.
Budget Breakdown: What to Expect When Building
Costs vary widely by region, material choices, and whether you hire out or DIY portions of the work. These are ballpark figures for a 14×16-foot covered patio with a mid-range fireplace in a suburban U.S. market as of 2026.
Foundation and framing: $3,500–$6,000 (includes sonotube footings, posts, beams, rafters, and basic framing labor if contracted)
Roofing: $1,200–$2,500 (architectural shingles or metal panels, underlayment, flashing)
Fireplace (materials and install):
- Prefab wood-burning insert with chimney: $2,500–$5,000
- Gas fireplace (direct-vent): $2,000–$4,500
- Electric unit: $800–$1,800
Masonry work (stone or brick veneer around fireplace): $1,500–$3,500
Electrical and gas rough-in: $800–$1,800 (depending on distance from panel/meter)
Finishing (paint, stain, trim, gutter): $600–$1,200
Total typical range: $10,000–$20,000 for a turnkey build. High-end finishes, larger footprints, or full outdoor kitchens integrated with the fireplace can push costs past $30,000.
DIYers can trim 30–40% by self-performing framing, roofing, and finish work, but most jurisdictions require licensed pros for gas fitting and final electrical. Masonry is labor-intensive: hiring a mason for the fireplace surround while handling the rest yourself is a common middle ground.
Material costs fluctuate with lumber markets and fuel prices. Lock in quotes from suppliers and subs before breaking ground. Permitting fees typically run $200–$800 depending on project scope and local rates.
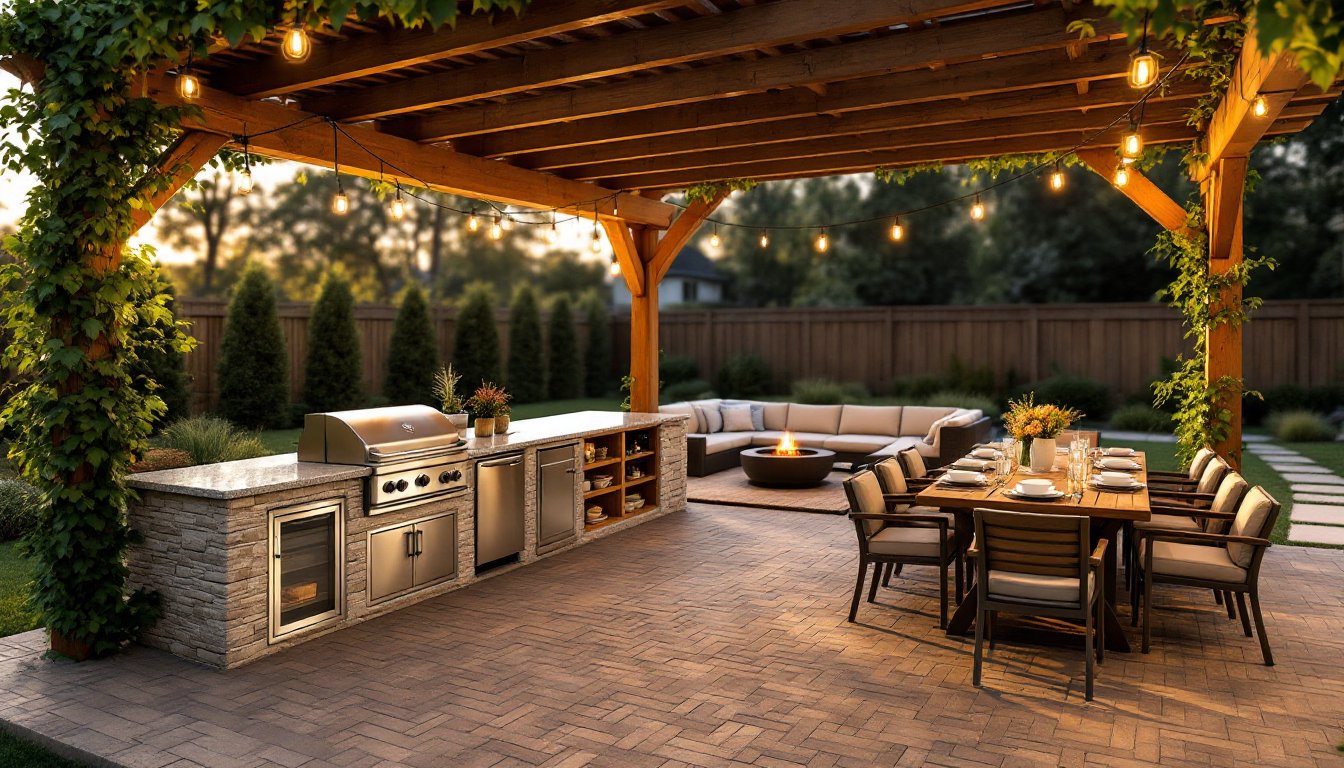
Styling and Furnishing Your Covered Patio with Fireplace
Once the structure is up and the fireplace is operational, finishes and furnishings turn raw construction into livable space. Start with flooring. Stamped concrete, natural flagstone, porcelain pavers, or even composite decking (if the patio is raised) all work. Choose slip-resistant finishes for wet conditions and materials that tolerate temperature swings.
Ceiling treatments add polish. Tongue-and-groove pine, stained beadboard, or even painted plywood dressed with trim beams provide a finished look overhead. Leave access panels for any concealed electrical junctions.
Furniture scale matters. Oversized sectionals and deep lounge chairs suit large patios: bistro sets and compact loveseats fit smaller footprints. Weather-resistant fabrics (solution-dyed acrylic) and powder-coated aluminum or teak frames hold up best. Position seating to face the fireplace, leaving walkways at least 36 inches wide.
Lighting layers create ambiance. Recessed downlights provide task lighting: string lights or lanterns add warmth: a dimmer switch lets you dial intensity for different occasions. Many homeowners inspired by HGTV design shows integrate LED strip lighting under beams or behind stone veneer for subtle backlighting.
Accessories should be functional. Firewood storage boxes, spark screens for wood-burning fireplaces, outdoor-rated rugs to define zones, and potted plants to soften hard edges all contribute. If the patio connects to a broader back patio renovation plan, coordinate materials and color palettes for a cohesive look.
Consider seasonal flexibility. Retractable screens or clear vinyl curtains extend usability into bug season or windy days. Outdoor heaters supplement the fireplace on especially cold nights. A ceiling fan with reverse function pulls heat down in winter and creates downdraft cooling in summer.
Finally, protect your investment. Apply sealant to stone and concrete surfaces every 2–3 years. Clean fireplace glass and inspect gas lines annually. Cover or store cushions during heavy weather. Proper maintenance keeps a covered patio looking sharp and functioning safely for decades.