Building a tiki hut in the backyard isn’t just about adding a structure, it’s about creating a destination. Whether it’s a full tiki bar for entertaining or a shaded lounge spot to escape the midday heat, a well-built tiki hut brings that vacation vibe home. This guide covers practical designs, construction methods, and finishing touches that turn a simple backyard project into a functional tropical retreat. No fluff, just the materials, techniques, and tips needed to pull it off right.
Table of Contents
ToggleKey Takeaways
- Backyard tiki hut ideas succeed when they prioritize stable framing with pressure-treated 4×4 posts in concrete footings, weather-resistant roofing, and a functional layout suited to your intended use (bar or lounge).
- A DIY pallet tiki bar can be built in a weekend using heat-treated pallets, a 2×12 cap for proper bar height, and bamboo fencing panels, making it an affordable entry point for backyard entertaining.
- Roofing must include a solid deck (plywood or polycarbonate) with proper pitch (minimum 3/12 slope) and ridge flashing to prevent water damage; synthetic thatch lasts 10+ years and meets fire codes in most jurisdictions.
- Lounge hut designs work best with 10×12 foot footprints, 8-foot peak heights, open gable ends for airflow, built-in seating at standard 18-inch height, and non-grass flooring like concrete pads or composite decking.
- Tropical finishing touches—including layered lighting (task, ambient, and accent), Sunbrella fabric for UV resistance, and moisture-rated outdoor speakers—transform your tiki hut from functional structure into an inviting destination.
- Always check local building codes and permits, as most jurisdictions require permits for structures over 120 square feet or anything with electrical work, and frost-prone zones require deeper post footings.
What Makes a Great Backyard Tiki Hut?
A solid tiki hut starts with three non-negotiables: stable framing, weather-resistant roofing, and a layout that fits the intended use. Homeowners often jump straight to décor without thinking through structure, and that’s where projects fall apart.
Framing typically uses pressure-treated 4×4 posts set in concrete footings at least 12 inches deep (deeper in frost-prone zones). Spacing depends on roof load and local wind ratings, check the International Residential Code (IRC) or local building department for span tables. Bamboo poles look great but aren’t load-bearing: use them as cladding over dimensional lumber.
Roofing needs to shed water and handle UV exposure. Thatch (real or synthetic) is traditional, but it requires maintenance and fire consideration. Polypropylene thatch lasts 10+ years and meets fire codes in most jurisdictions. Pair it with a solid roof deck of ½-inch plywood or corrugated panels underneath for structural support.
Layout matters. A tiki bar works best at 42 inches high (standard bar height) with 24 inches of depth for a work surface. Lounge huts need at least 10×10 feet of interior space to avoid feeling cramped. Think about sightlines, sun angles, and proximity to the house for electric or water hookups.
Permits vary widely. Most jurisdictions require one for structures over 120 square feet or anything with electrical work. A simple open-air hut under that threshold often skates by, but always check local codes before digging.
DIY Tiki Bar Hut Designs for Entertaining
Simple Pallet Tiki Bar Setup
Pallet bars are beginner-friendly and budget-conscious. Start with heat-treated (HT-stamped) pallets, avoid chemically treated (MB-stamped) wood. Most pallets measure 40×48 inches, so two stacked vertically give a bar height around 38-40 inches. Add a 2×12 cap across the top to bring it to 42 inches and create overhang for seating.
Secure pallets with 3-inch exterior screws through the stringers (the solid boards running perpendicular to the deck boards). Anchor the assembly to a level gravel or paver base, pallets will rot if sitting directly on soil. For a countertop, use a ¾-inch exterior plywood sheet sealed with marine-grade polyurethane, or go with composite decking boards for a no-maintenance surface.
Clad the front with bamboo fencing panels from a home center (6 feet × 8 feet rolls run about $30-50). Staple or screw them to the pallet face, trimming with a utility knife. Add a small thatched roof canopy using a 2×4 frame and synthetic thatch rolls. This setup handles light entertaining and can be built in a weekend.
Full Bamboo Tiki Bar with Thatched Roof
For a more permanent bar, frame it like a small shed. Set four 4×4 posts in concrete footings, spaced 6 feet apart for the bar length and 4 feet deep for width. Horizontal 2×4 nailers connect the posts at the 42-inch bar height and again at the top for roof support.
Build the bar top frame with 2×4s on edge for rigidity, then cover with ¾-inch plywood or exterior-grade butcher block. Many woodworking plans detail joinery for countertop overhangs and edge trim. For the roof, run 2×6 rafters at a 4/12 pitch (4 inches of rise per 12 inches of run) to ensure water runoff. Deck it with ½-inch CDX plywood, then layer synthetic thatch in overlapping rows starting from the eaves.
Wrap posts with bamboo poles (1.5-2 inch diameter) using exterior construction adhesive and wire ties. Leave electrical chases if running power for lighting or a mini fridge. This build requires basic carpentry skills, a miter saw for angled cuts, and a level work surface. Budget 2-3 weekends for completion.
Tiki Lounge and Seating Area Ideas
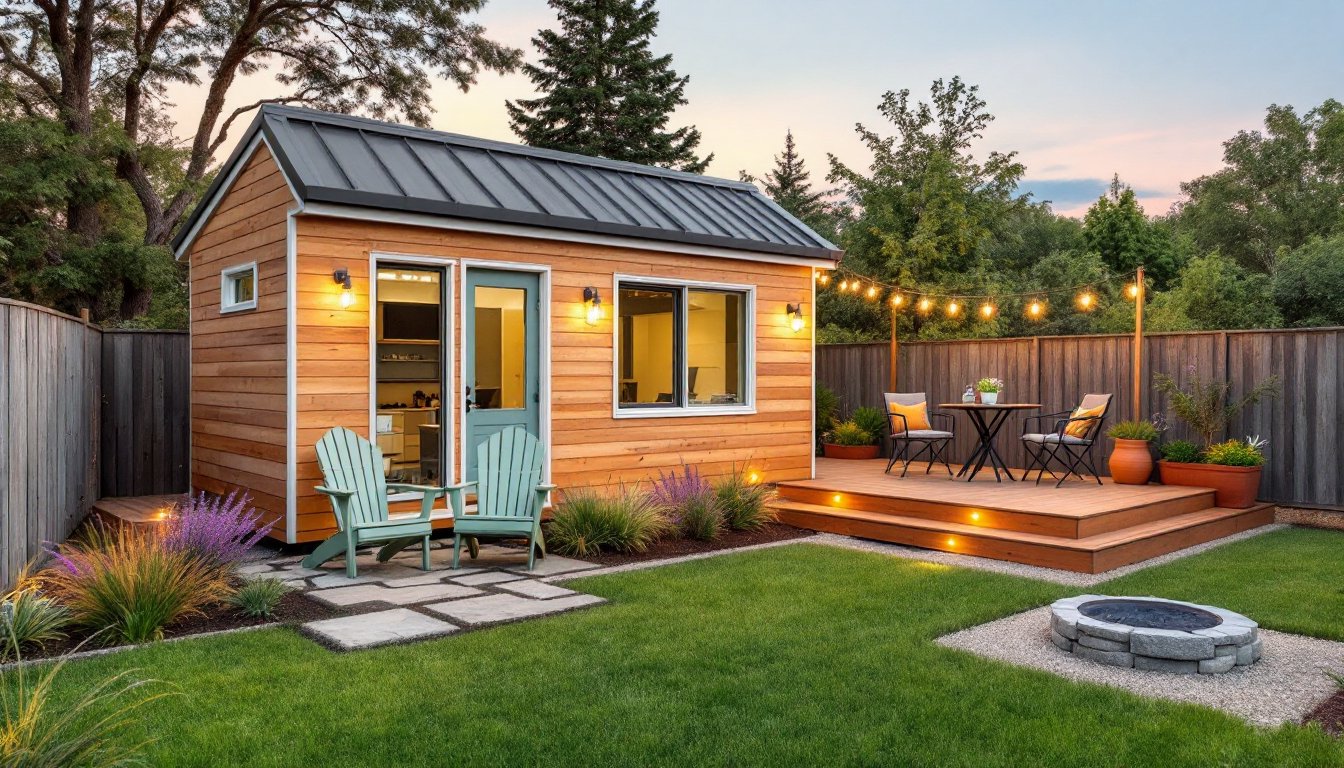
A lounge hut shifts focus from vertical bar service to horizontal relaxation. Think low-profile seating, shade coverage, and airflow. Start with a 10×12 foot footprint, enough for a sectional or hammock setup without overcrowding.
Framing follows the same 4×4 post method, but roof height can drop to 8 feet at the peak for a cozier feel. Use open gable ends or leave one side completely open to maximize breeze. If the hut backs up to a fence or wall, that’s fine, just ensure cross-ventilation.
Built-in seating works well here. Frame bench boxes with 2×4s at 18 inches high and 20 inches deep (standard seat dimensions), then top with 2×6 or 2×8 decking boards. Add outdoor cushions for comfort. For a hammock setup, relaxation areas benefit from sturdy anchor points, through-bolt ½-inch eye bolts into doubled 2×6 headers between posts, rated for at least 400 pounds per anchor.
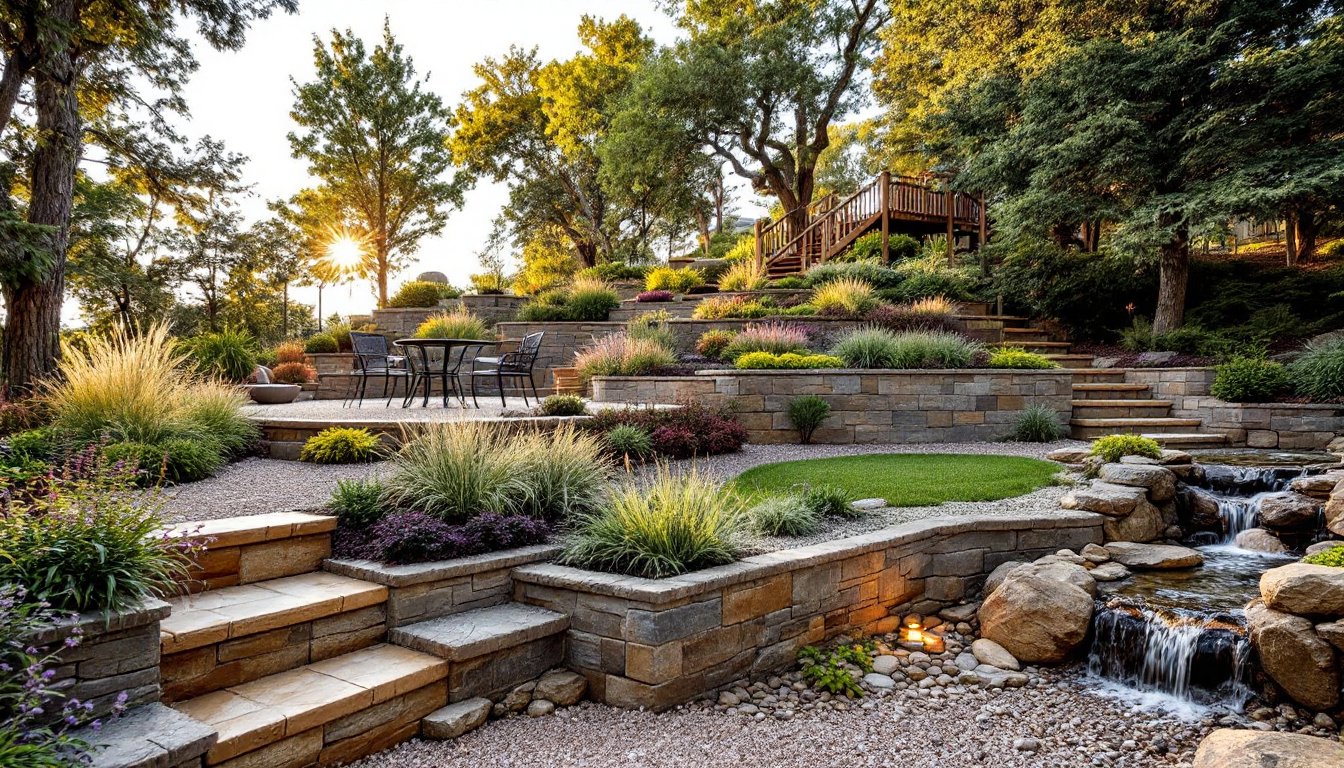
Flooring options include poured concrete pads (4 inches thick with 6×6 welded wire mesh), composite decking on a 2×6 joist frame spaced 16 inches on center, or compacted gravel with pavers. Skip grass, it’ll die in the shade and turn into a mud pit.
Consider a ceiling fan if running electric. Most outdoor-rated fans pull 60-80 watts and make a huge difference on humid evenings. Pair it with string lights on a dimmer for ambiance without harsh glare.
Roofing Materials and Construction Tips
Thatching a roof looks intimidating but breaks down into manageable steps. Synthetic thatch panels (polypropylene or HDPE) come in 2×4 foot or 4×8 foot sheets, typically ½-inch to 1-inch thick. They overlap like shingles, start at the eave, work upward, and use 1-inch roofing nails or screws with washers every 8-10 inches.
For natural thatch (palm, reed, or grass), expect a 3-5 year lifespan in wet climates, longer in arid zones. It’s labor-intensive: bundles are tied to horizontal 1×2 lath strips spaced 6-8 inches apart across the roof deck. Fire retardant sprays help but need annual reapplication. Check local fire codes, some jurisdictions ban natural thatch outright.
Under any thatch, a solid roof deck is critical. Use ½-inch CDX plywood (exterior grade) or corrugated polycarbonate panels for a lighter option. Polycarbonate lets in diffused light, which is nice for lounge huts. Seal all seams with roofing tar or butyl tape to prevent leaks.
Roof pitch matters. Aim for at least a 3/12 slope (3 inches of rise per 12 inches of run) to prevent water pooling. Steeper pitches (4/12 to 6/12) shed water faster and look more dramatic. Use a speed square to mark rafter angles, if that’s new territory, outdoor design resources often include illustrated rafter tutorials.
Flashing at the ridge is non-negotiable. Run a strip of aluminum or galvanized steel flashing over the peak, then cap it with thatch. Skip this, and water will wick into the plywood and rot it within two seasons.
Tropical Décor and Finishing Touches
Décor sells the vibe, but function comes first. Tiki torches are classic but require 18-24 inches of clearance from any structure and should never be left unattended. Opt for citronella candles in hurricane lanterns for safer ambiance, or go electric with solar tiki torches (most run 6-8 hours on a full charge).
Bamboo fencing and woven reed panels clad posts and walls quickly. Secure them with ½-inch galvanized staples or plastic zip ties threaded through the weave. For color, skip paint, use outdoor fabric in tropical prints for cushions, curtains, or shade sails. Sunbrella fabric resists UV and mildew and comes in hundreds of patterns.
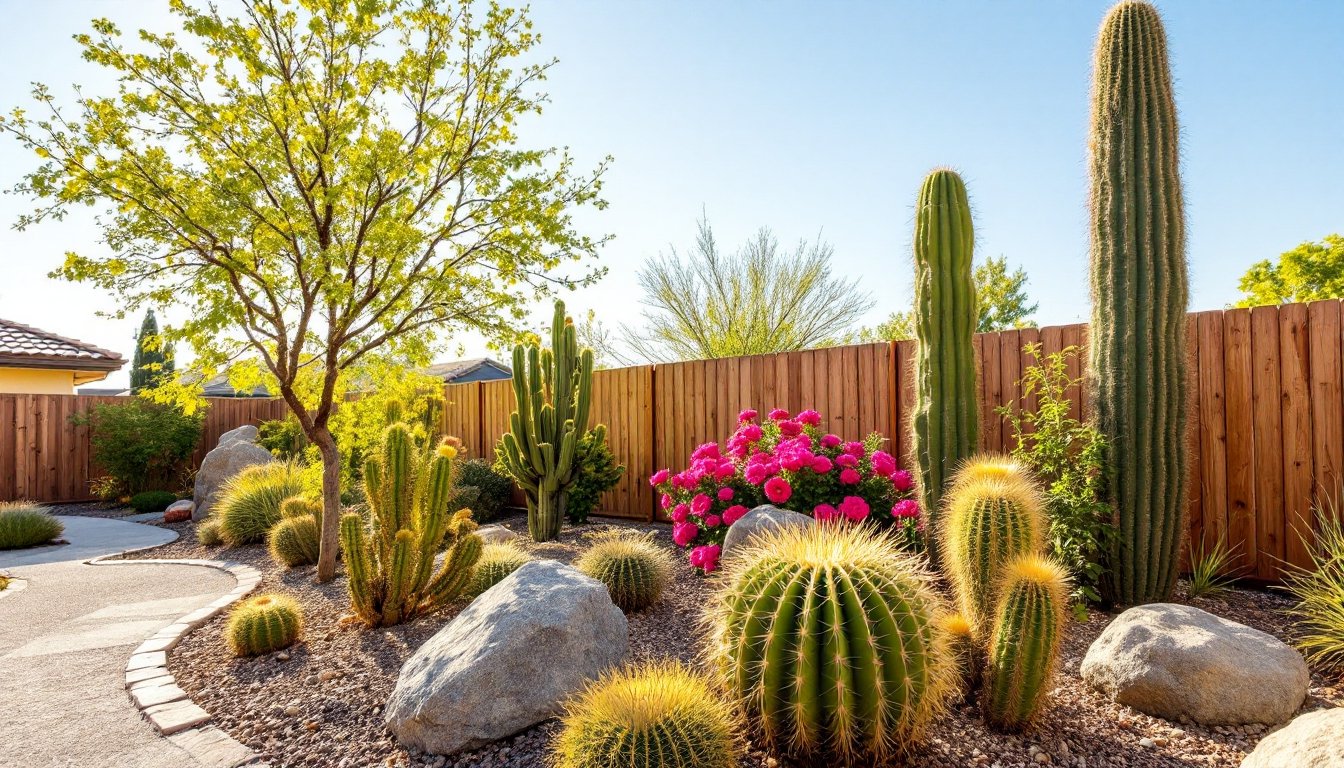
Plant selection anchors the tropical theme. Hibiscus, bird of paradise, and elephant ear plants thrive in USDA zones 8-11 and tolerate part shade. In cooler zones, use container plantings that can winter indoors. Group pots in odd numbers (3, 5, 7) for a more natural look.
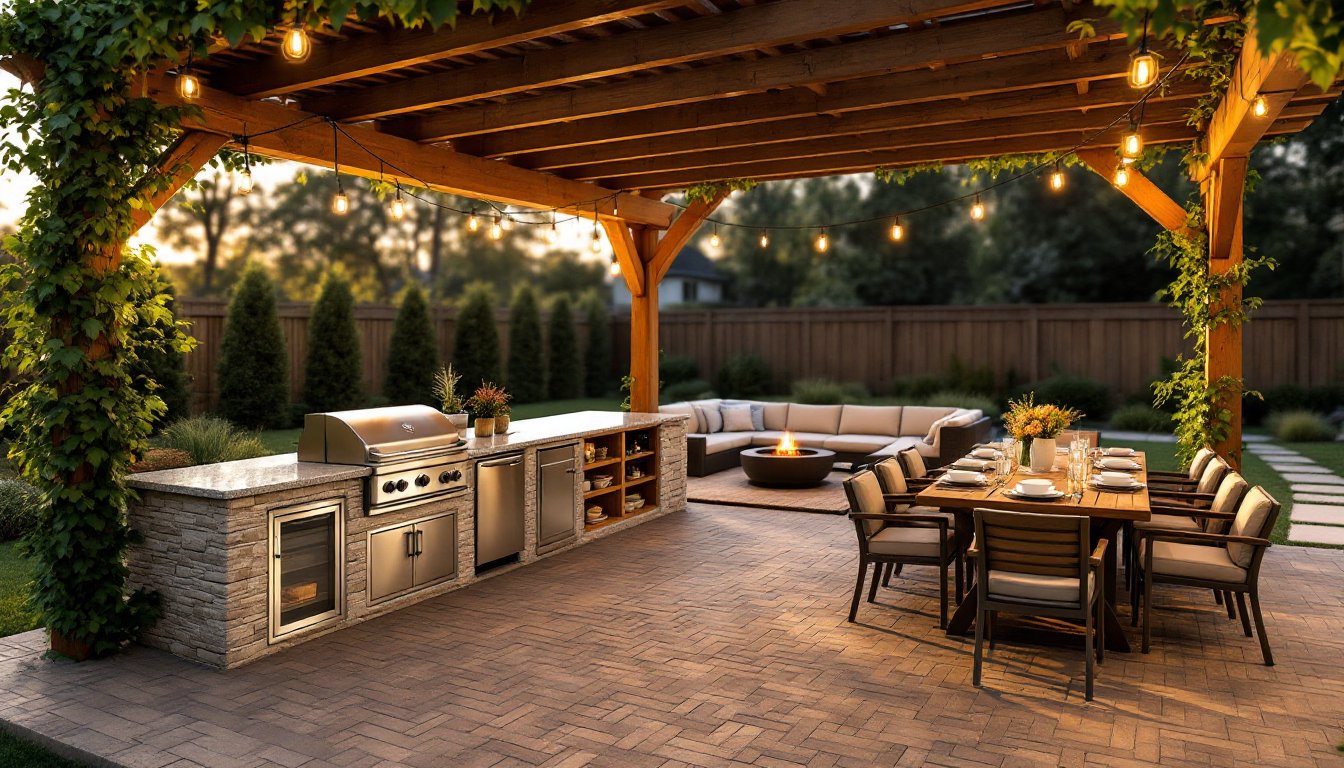
Lighting should layer: task lighting for the bar (under-counter LED strips, 12V systems are DIY-friendly), ambient lighting for the lounge (string lights or lanterns), and accent lighting for plants or pathways (low-voltage landscape spots, 3-5 watts per fixture). Wire outdoor-rated fixtures through ¾-inch PVC conduit buried at least 18 inches deep per NEC requirements.
Sound systems are a nice touch. Outdoor speakers rated IP65 or higher handle moisture. Pair them with a Bluetooth receiver or run speaker wire from an indoor amp. Keep volume neighborly, sound carries farther outdoors than most people expect.
For ideas that won’t expensive, budget-friendly makeovers offer creative tricks. DIY projects also fit well with broader landscaping plans if a tiki hut is one piece of a bigger overhaul. Weather-resistant finishing details often mirror techniques used in shade structures like pergolas.
Finally, don’t underestimate the power of a good bar mat, a bottle opener mounted to the counter, and a small cooler tucked under the bar. Those small details make the space usable, not just photogenic. Regional outdoor living guides can help tailor plant and material choices to local climates.