Building a backyard seating area isn’t about Pinterest boards and fairy lights, it’s about functional outdoor living space that you’ll actually use. Whether someone’s working with a sprawling lawn or a compact urban patio, the right seating setup can turn an underutilized yard into a genuine extension of the home. This guide walks through location strategy, construction options, and real-world design choices that hold up to weather, traffic, and the inevitable coffee spills. From fire pit circles to DIY pallet benches, these ideas prioritize durability, comfort, and buildability over trending hashtags.
Table of Contents
ToggleKey Takeaways
- Choose backyard seating area locations with morning sun and afternoon shade, typically on the east or north side, ensuring level ground with a 2% grade or less for stability and proper drainage.
- Fire pit seating requires 10 feet minimum clearance from structures and property lines; use concrete retaining wall blocks, firebrick lining, and gravel surfacing for a durable, affordable DIY option.
- Patios and decks provide all-weather platforms—concrete costs $8-15 per square foot, while pavers offer modularity; built-in benches with 16-18 inch seat height and 100-110 degree back angles maximize comfort and space.
- DIY seating solutions like cinder block benches, landscape timber stacks, and pallet furniture (using heat-treated pallets only) reduce costs to $50-150 while allowing custom sizing for odd spaces.
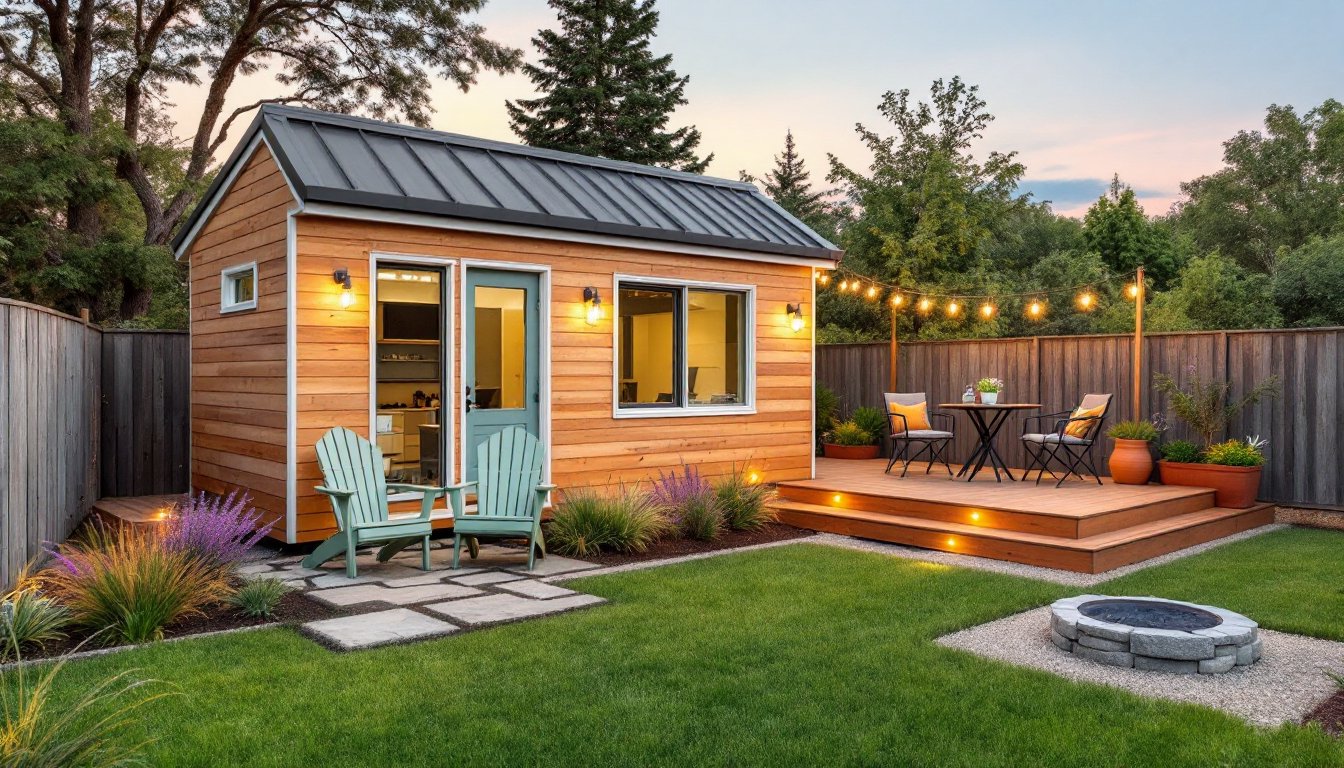
- Shade structures such as pergolas, shade sails, and lattice panels, combined with string lights and proper drainage, transform seating areas into functional outdoor rooms that extend usability throughout the day and seasons.
- High-quality cushions with solution-dyed acrylic fabric, foam inserts, and proper storage, along with outdoor rugs and side tables, complete backyard seating areas with comfort and durability for long-term enjoyment.
Choosing the Right Location for Your Backyard Seating Area
Location determines whether a seating area becomes the go-to hangout spot or an awkward patch of furniture gathering leaves. Start by observing sun patterns throughout the day, most homeowners prefer morning sun and afternoon shade, which typically means positioning seating on the east or north side of the yard.
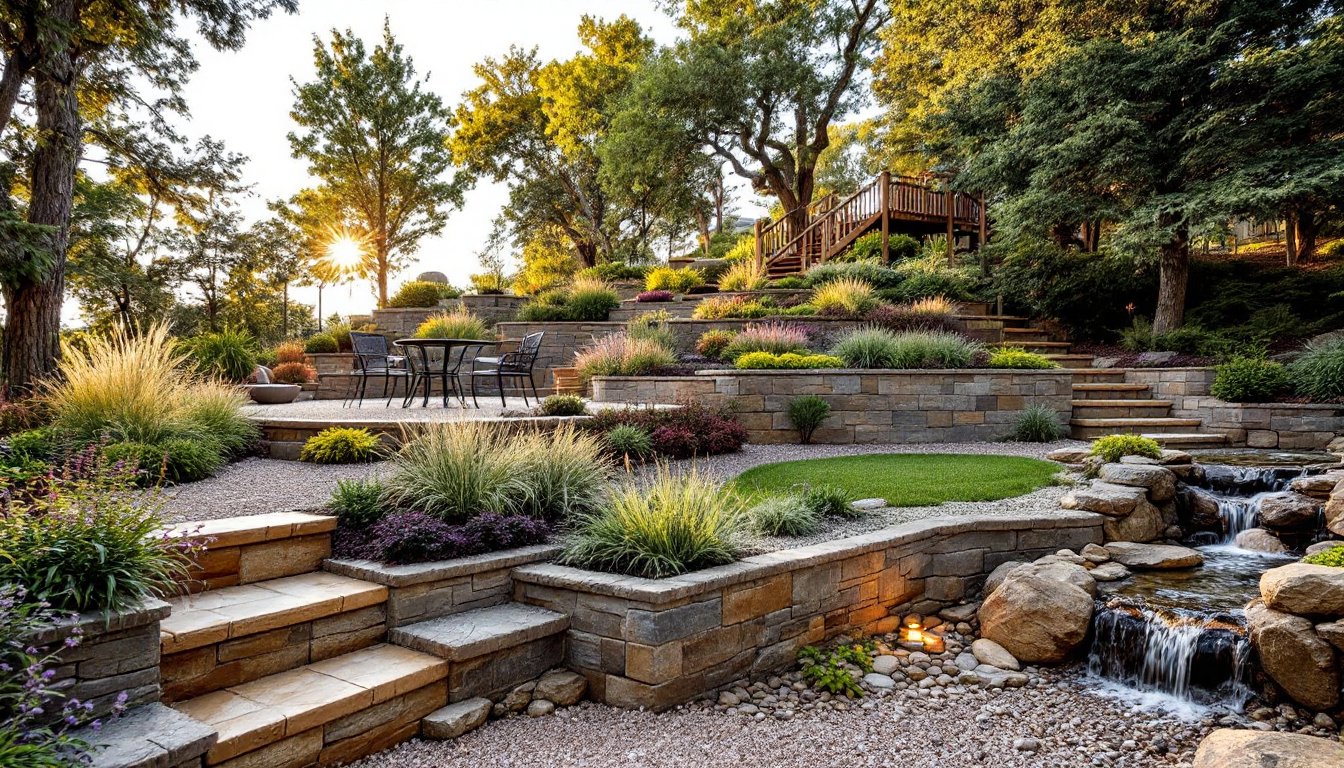
Check for level ground before committing to a spot. A 2% grade or less is ideal for stable furniture and drainage without needing extensive site prep. Anything steeper requires grading, retaining walls, or a raised deck structure. Use a 4-foot level on a straight 2×4 to assess slope across the potential area.
Proximity to the house matters for electrical access and foot traffic. Running outdoor-rated 12-gauge wiring for lighting or speakers through conduit is straightforward within 20 feet of an exterior outlet. Beyond that, trenching and potential permit requirements add complexity. Also consider sightlines, does the spot offer privacy from neighbors, or will it need screening? Thinking through outdoor living layouts at this stage saves costly adjustments later.
Avoid low-lying areas where water pools after rain. Standing water leads to mosquito breeding and deteriorates wood or composite decking. If the only viable spot has drainage issues, plan for a gravel base with landscape fabric or install a French drain before building.
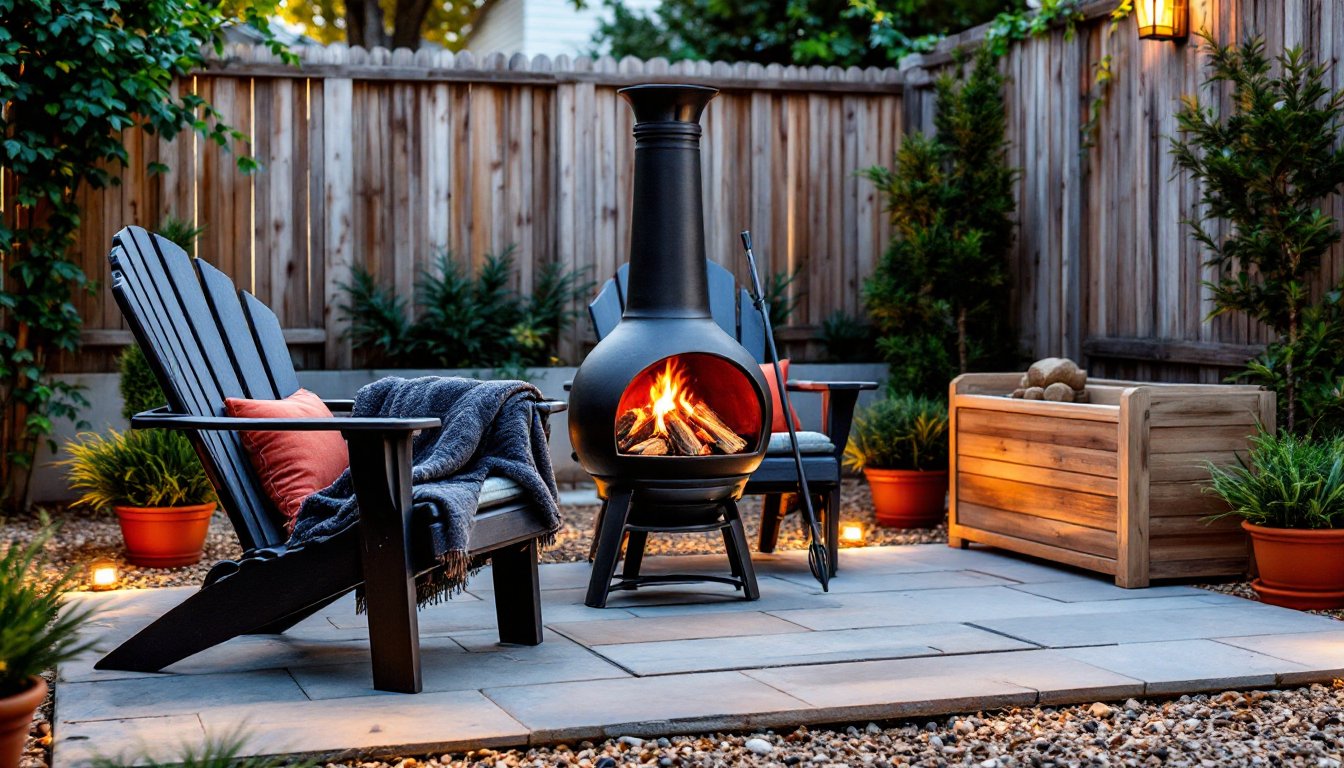
Cozy Fire Pit Seating Areas
Fire pit seating creates natural gathering spots and extends outdoor season well into fall. The key constraint is clearance: most local codes require 10 feet minimum from structures, property lines, and overhanging branches. Check with the building department before digging, some jurisdictions classify permanent fire features as structures requiring permits.
For DIY builds, concrete retaining wall blocks make durable, affordable fire rings. A 36-inch interior diameter provides enough flame for warmth without being overbearing. Stack blocks two to three courses high using construction adhesive rated for high heat, and cap with flat stones. Line the interior with firebrick to protect the outer blocks from thermal stress.
Seating arrangement follows the classic circle or horseshoe layout. Built-in benches work well but limit flexibility: movable Adirondack chairs or metal garden chairs can be repositioned as group size changes. Maintain 3 to 4 feet between seat backs and the fire ring edge for comfort and safety. Heat-resistant seating materials like metal, teak, or composite lumber hold up better than standard pine.
Gravel or decomposed granite makes the best fire pit surfacing. It’s non-combustible, drains well, and costs around $40-60 per cubic yard (coverage varies by depth, but 2-3 inches is typical). Border the gravel with steel edging or larger stones to prevent migration. Installing a simple patio cover nearby provides shelter without violating clearance requirements if designed as an open structure.
Stylish Patio and Deck Seating Options
Patios and decks provide level, all-weather platforms that support heavier furniture and defined outdoor rooms. Concrete patios are the most permanent option. A standard 4-inch thick slab with 6×6 10/10 welded wire mesh handles typical furniture loads. Budget roughly $8-15 per square foot for DIY concrete work, more if hiring out.
Pavers offer modularity and easier repairs. Concrete pavers over a compacted gravel base (4-6 inches of ¾-inch crushed stone plus 1 inch of sand) create a stable surface without mixing concrete. Use a plate compactor to achieve proper base density, hand tamping won’t cut it for long-term stability. Edge restraints are non-negotiable: aluminum or steel paver edging prevents border creep over time.
Deck construction requires more carpentry but creates elevation and built-in seating opportunities. Pressure-treated southern yellow pine remains the budget standard ($2-3 per board foot), while composite decking eliminates annual staining at roughly double the material cost. Frame with 2×8 or 2×10 joists at 16 inches on center for residential loads, supported by properly sized beams and frost-proof footings.
Built-in benches maximize deck space. Frame them as cantilevers off the deck structure or as independent boxes. A comfortable seat height is 16-18 inches, with a depth of 16-20 inches. Back support angled at 100-110 degrees beats straight vertical backs for prolonged sitting. Cap bench frames with 2×6 or 2×4 decking boards for a finished look that matches the deck surface.
For covered areas, verify posts and beams can handle both dead load (structure weight) and live load (snow, if applicable). The International Residential Code (IRC) provides span tables, but when in doubt, consult a structural engineer or local building official. Many homeowners find inspiration for comprehensive outdoor makeovers that integrate multiple seating zones.
Budget-Friendly DIY Seating Solutions
Building seating from scratch slashes costs and allows custom sizing for odd spaces. Cinder block benches are the quickest build: stack blocks to desired height, insert 4×4 posts through the cells for stability, and top with 2×10 or 2×12 planks. Sand and seal the wood with exterior stain or polyurethane. Total cost runs $50-80 for a 6-foot bench.
Landscape timber offers another low-skill option. Stack 6×6 timbers log-cabin style, securing each layer with ½-inch rebar driven through pre-drilled holes. Three or four courses create bench height. These timbers are pressure-treated and heavy, each 8-foot section weighs around 70 pounds, so recruit help for assembly.
Stone or boulder seating suits rustic settings. Flat-topped stones weighing 200+ pounds won’t shift and require zero construction, though delivery and placement need equipment or serious labor. Position them over compacted soil or gravel to prevent settling. Add cushions for comfort since stone stays cold.
For those interested in more complex budget-conscious projects, combining multiple low-cost techniques can yield professional-looking results without contractor pricing.
Pallet Furniture and Repurposed Materials
Pallet furniture dominates DIY seating discussions for good reason: free or cheap material and simple joinery. But not all pallets are suitable. Look for heat-treated (HT) pallets marked with an HT stamp: avoid methyl bromide (MB) treated pallets, which contain pesticide residues.
Disassemble pallets with a reciprocating saw or pallet buster tool, trying to pry nails by hand splits the wood. Sand thoroughly with 80-grit followed by 120-grit sandpaper to eliminate splinters. Most pallets use southern yellow pine or oak, both of which accept stain well.
A basic pallet couch uses two pallets as the base, one as the backrest. Connect them with 3-inch deck screws driven through the back pallet into the base at a slight recline. Add 2×4 legs if extra height is needed. Seal with exterior wood stain (coverage: ~200 square feet per gallon for one coat). Top with outdoor cushions, standard pallet dimensions are 48×40 inches, so custom cushion cutting may be necessary.
Reclaimed lumber from old fencing or decking works similarly. Strip old nails, check for rot (soft spots or powdery texture indicate decay), and cut away damaged sections. Mixing wood tones creates visual interest, but ensure all pieces receive the same weatherproofing treatment for uniform aging.
Creating Shade and Privacy for Your Seating Space
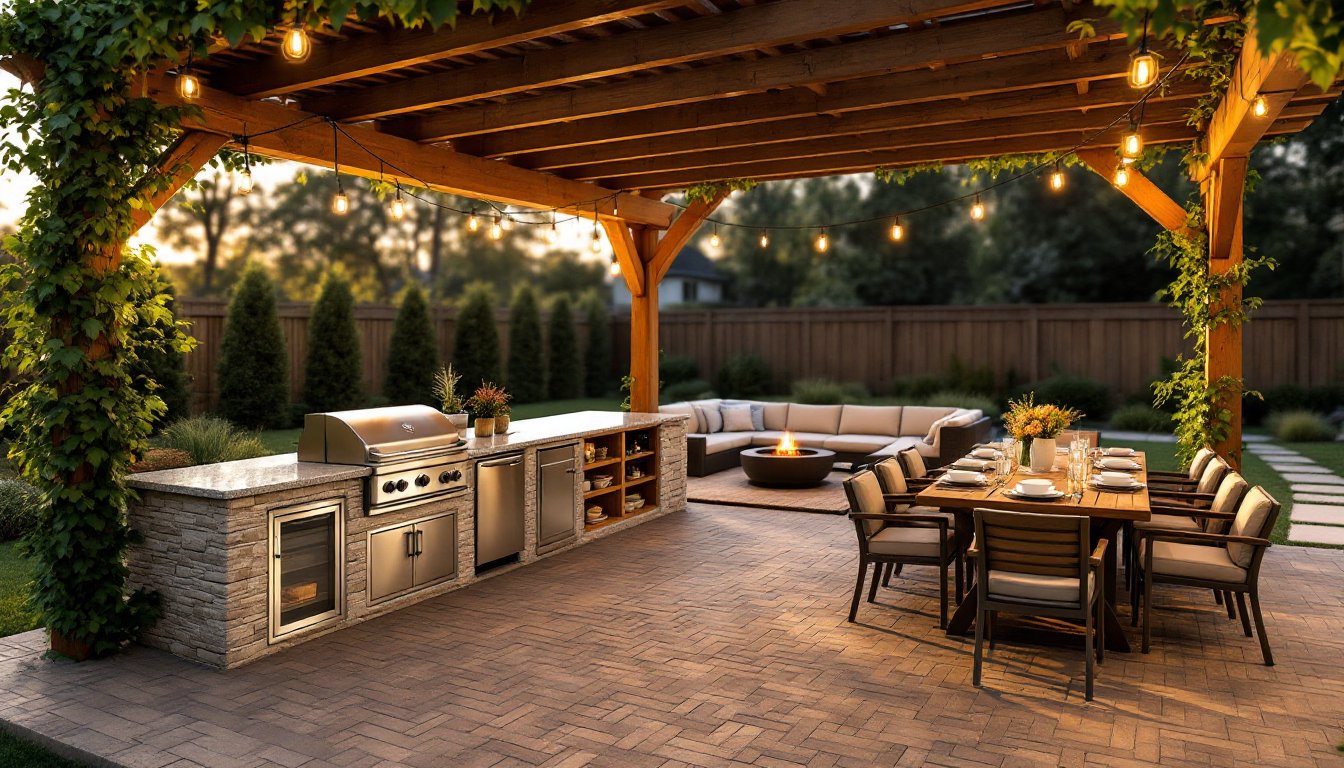
Unshaded seating becomes unusable during peak sun hours, and exposed areas feel less like outdoor rooms. Pergolas provide dappled shade and support for climbing plants. Standard designs use 4×4 posts, 2×6 or 2×8 beams, and 2×4 or 2×6 rafters spaced 12-24 inches apart. Deeper rafters cast more shade.
Attaching a pergola to the house requires a ledger board lag-bolted into wall studs or rim joists, similar to deck construction. Flashing above the ledger prevents water intrusion, skipping this detail leads to rot and costly repairs. Freestanding pergolas avoid structural tie-ins but need deeper footings to resist wind uplift. Concrete footings below frost line (depth varies by region, typically 36-48 inches in northern climates) prevent heaving.
Shade sails offer modern aesthetics and full UV protection. Quality sails block 90-95% of UV radiation. Mount them to posts, house fascia, or trees using turnbuckles and stainless steel hardware. Tension is critical, loose sails flap and tear in wind. Angle sails to shed rain rather than creating water pockets.
For privacy, lattice panels between posts create semi-enclosed spaces while allowing airflow. Standard 4×8 foot panels cost $25-50 depending on material (wood, vinyl, or composite). Pressure-treated wood lattice needs painting or staining: vinyl is maintenance-free but less sturdy in high winds.
Outdoor curtains add flexibility. Hang them from galvanized steel cable or 1-inch conduit rails using clip rings. Sunbrella and similar outdoor fabrics resist fading and mildew (cleaning: hose down and scrub with mild soap). Curtains can be drawn for privacy or tied back for open views.
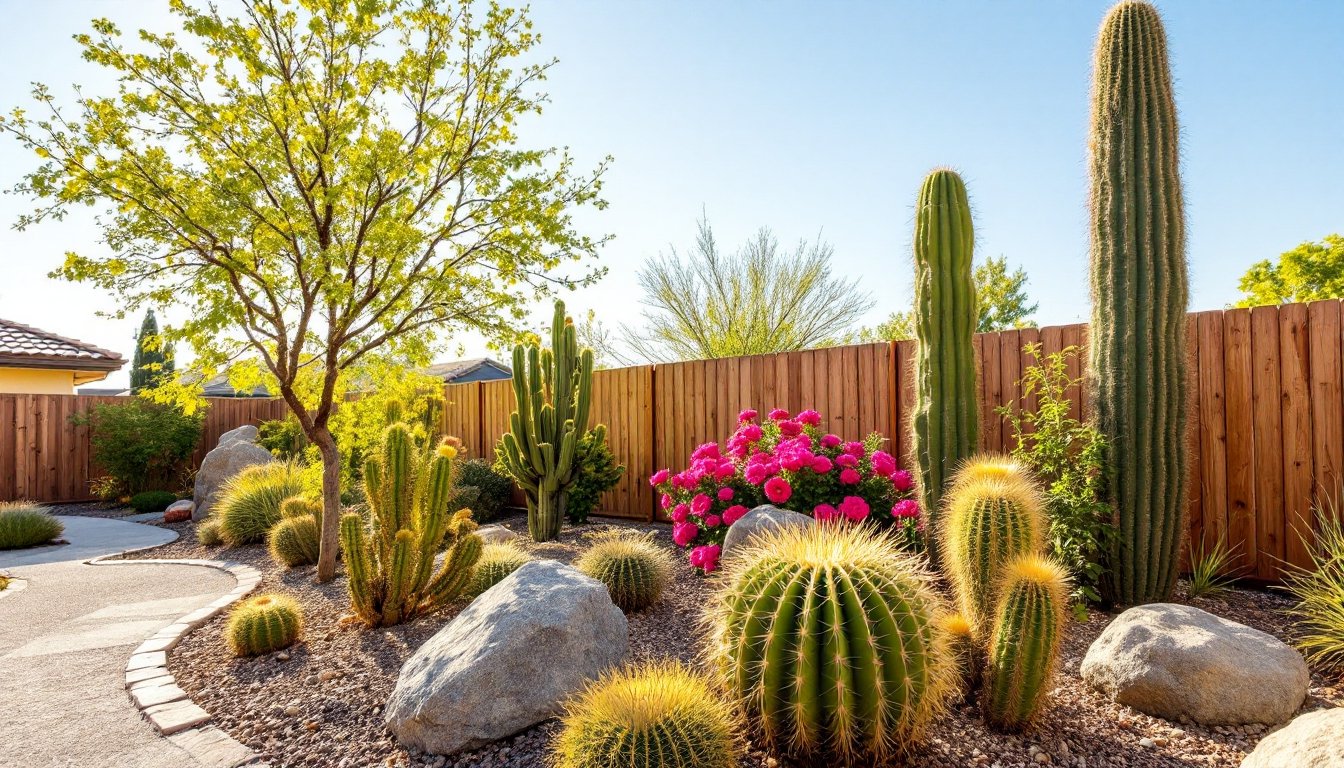
Living privacy screens take longer to establish but provide natural ambiance. Bamboo grows quickly (some clump-forming varieties add 3-5 feet per year) but requires root barriers to prevent invasive spread. Arborvitae, holly, or boxwood offer evergreen screening in various climates. Containers work for renters or those avoiding permanent plantings, large planters with trellises and annual vines (morning glory, clematis) provide seasonal coverage.
Some homeowners combine seating with features like a gazebo installation to create fully sheltered zones that function as true outdoor rooms.
Finishing Touches: Lighting, Cushions, and Decor
Lighting extends usability after dark and defines the space visually. Low-voltage landscape lighting (12V systems) is DIY-friendly and safe. A typical kit includes a transformer, cable, and fixtures. Bury cable 6 inches deep in a straight run or use conduit for protection. Path lights, spotlights on focal features, and string lights create layers.
String lights remain popular for good reason, they’re inexpensive, easy to install, and set relaxed ambiance. Hang them on guide wires tensioned between posts or trees, or drape them along pergola rafters. LED versions use 75% less energy than incandescent and last years longer. Look for wet-rated fixtures if the installation lacks overhead protection.
For task lighting near outdoor bar setups, consider wall-mounted sconces or recessed step lights if you’ve built deck stairs. All outdoor electrical work should follow National Electrical Code (NEC) standards, GFCI protection is required for outdoor receptacles, and burial depths for direct-burial cable vary by cable type and location.
Outdoor cushions and pillows turn hard seating into lounge-worthy spots. Solution-dyed acrylic fabrics resist fading better than cheaper polyester. Removable covers simplify cleaning, most are machine washable. Storage is non-negotiable unless you enjoy replacing soggy cushions each spring. Deck boxes or a small shed keep them dry between uses.
Cushion fill matters as much as fabric. Polyester fiberfill dries quickly after rain but compresses over time. Foam inserts wrapped in polyester batting maintain shape longer. High-density foam (1.8-2.0 lb/ft³ or higher) supports weight without bottoming out. If cushions will get wet, drill drainage holes in seat platforms to prevent water pooling.
Decor should be functional, not just decorative. Outdoor rugs define seating zones and feel better underfoot than bare concrete or wood. Polypropylene rugs handle moisture and UV exposure (hose off periodically to remove dirt and pollen). Secure rugs with rug tape or tuck edges under furniture to prevent tripping hazards.
Side tables eliminate the awkward drink-balancing act. Cedar or teak naturally resist rot, or build simple tables from treated lumber and paint them to match the space. A 16-20 inch height aligns with standard chair arms. For creative takes on decorative elements and hardscaping, many resources offer region-specific ideas.
Planters add greenery without permanent landscaping. Group containers of varying heights for visual interest. Ensure pots have drainage holes: standing water kills most plants and breeds mosquitoes. Self-watering planters reduce maintenance, especially during summer heat. Detailed advice on integrating plant choices can be found through resources like home and garden guides.
Consider a relaxation zone with hammocks as an alternative seating option that doubles as a design statement. Finally, explore examples of complete outdoor room transformations for broader inspiration on tying all elements together.