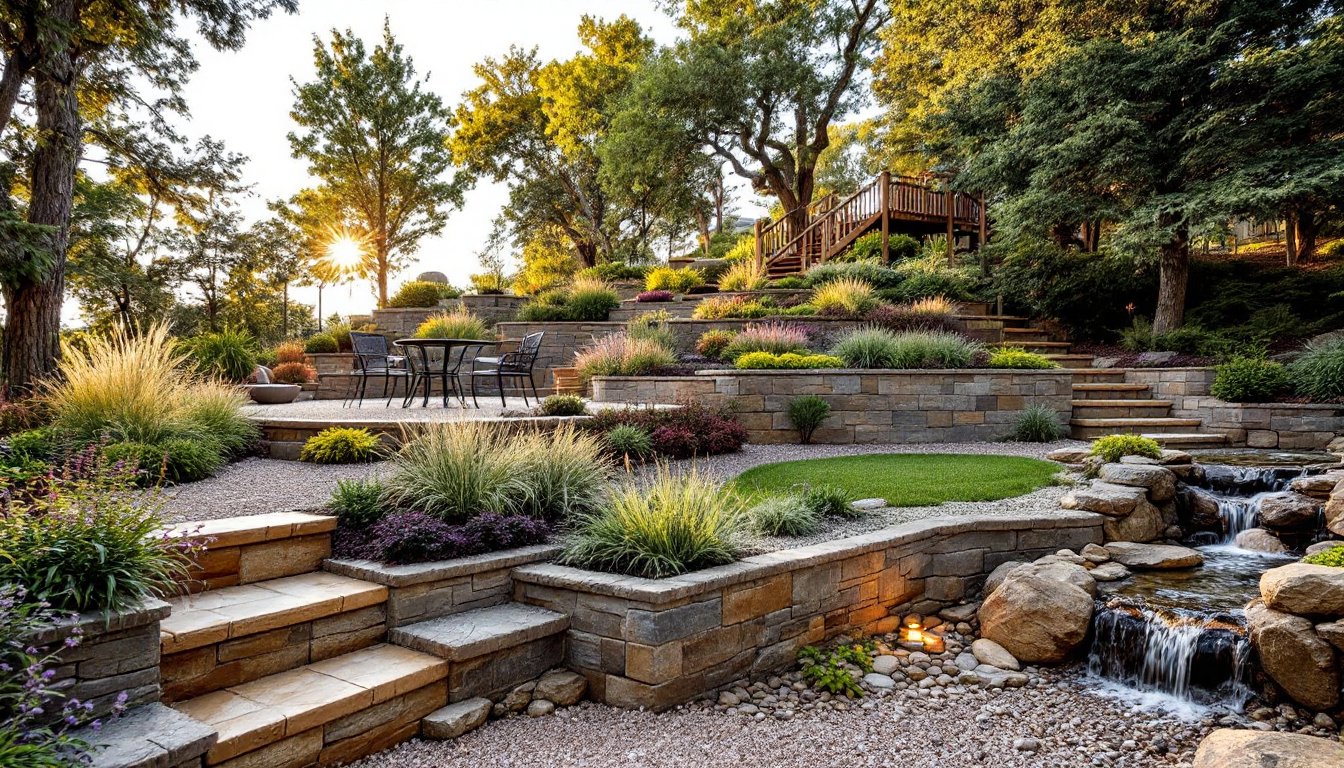
Creating a personal sanctuary in the backyard doesn’t require a complete overhaul, just intentional upgrades that combine function with comfort. Whether working with a compact patio or a sprawling lawn, homeowners can carve out spaces for relaxation, privacy, and enjoyment. The key is knowing which elements deliver the most impact and how to execute them correctly. From structural additions to natural landscaping, each choice should support how the space will actually be used: quiet mornings with coffee, weekend gatherings, or simple refuge from indoor routine.
Table of Contents
ToggleKey Takeaways
- Backyard retreat ideas succeed when combining functional furniture (like weather-resistant wicker or teak) with proper foundations—a 4-inch compacted gravel base and paver patio prevent settling and mud tracking.
- Privacy can be achieved through living screens like arborvitae (growing 3–5 feet yearly), standard 6–8 foot privacy fences, or bamboo screening, with choices depending on budget and how quickly coverage is needed.
- Water features ranging from self-contained recirculating fountains to small weekend ponds add tranquility and mask noise, but hardwired pumps deliver steadier performance than solar options.
- Fire pits require at least 10 feet clearance from structures and low-hanging branches; in-ground designs with fire brick are DIY-friendly, while permanent fireplaces and gas installations need permits and licensed professionals.
- Layered landscaping with fast-growing canopy trees, grouped shrubs in odd numbers, and perennial borders with staggered bloom times creates year-round interest with manageable maintenance.
- LED landscape lighting in ambient, task, and accent layers extends usable outdoor hours safely and efficiently, with low-voltage systems being DIY-friendly and consuming 80% less energy than older halogen or sodium fixtures.
Creating a Cozy Seating Area for Relaxation
A retreat needs a dedicated spot to sit, not fold-out lawn chairs stored in the garage. Start by selecting durable, weather-resistant furniture built for outdoor exposure. All-weather wicker with powder-coated aluminum frames holds up well in most climates, while teak and cedar offer natural rot resistance without chemical treatment.
Size the seating to the space. For a modest patio (8×10 feet or smaller), a loveseat and two accent chairs create conversation zones without crowding. Larger yards can accommodate sectionals or even hammock installations for layered lounging options.
Cushions and pillows add comfort but require storage or covers to prevent mildew. Solution-dyed acrylic fabrics (like Sunbrella) resist fading and moisture better than untreated cotton. If budget allows, invest in outdoor storage benches that double as seating and keep cushions dry between uses.
Consider the surface underfoot. Placing seating directly on grass invites uneven settling and mud tracking. A paver patio (minimum 4 inches of compacted gravel base, 1-inch sand bed, then pavers) provides a stable, level foundation. For DIYers without access to a plate compactor, rent one, hand tamping rarely achieves adequate compaction for longevity.
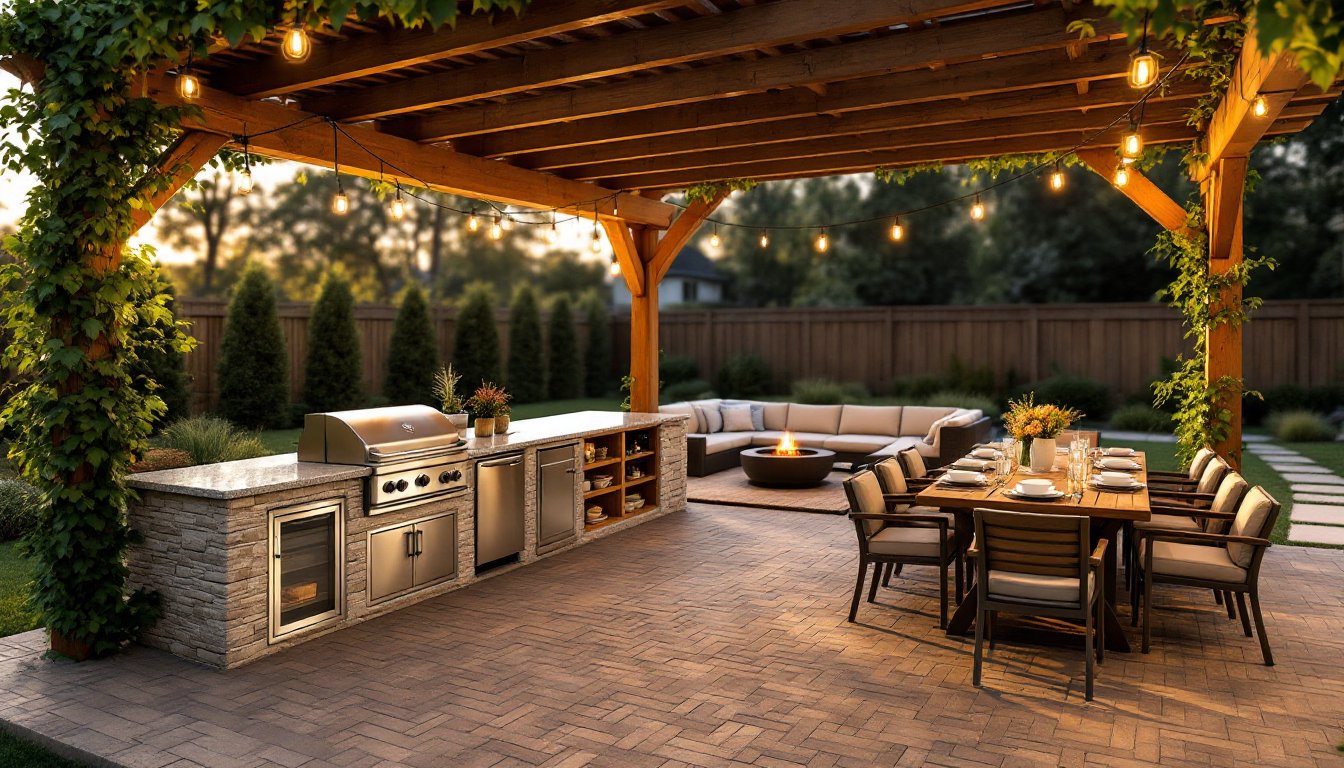
Shade matters. If the seating area gets afternoon sun, add a pergola (typically 10×10 or 12×12 feet for standard seating clusters) or a retractable awning. Both provide relief without the permanent footprint of a roof, though pergolas require concrete footings (depth varies by frost line, check local building codes).
Adding Privacy With Natural and Structural Elements
Privacy transforms a backyard from overlooked to secluded. The approach depends on lot lines, neighbor proximity, and how quickly coverage is needed.
Living screens like arborvitae (Thuja) or Leyland cypress grow 3–5 feet per year when established, eventually reaching 15–20 feet. Plant them 3–4 feet apart for a solid hedge. They need consistent watering the first two seasons, plan for a soaker hose or drip irrigation on a timer.
For immediate results, install a privacy fence. Standard heights are 6 or 8 feet: check local zoning ordinances before building, as some municipalities cap residential fences at 6 feet without a variance. Use pressure-treated pine for posts (4×4 minimum, set in concrete below frost line) and cedar or composite boards for panels. Cedar weathers to a silver-gray naturally, while composite resists warping but costs roughly double.
Pergolas and gazebos offer partial privacy when outfitted with lattice panels or outdoor curtains. Lattice (typically sold in 4×8-foot sheets) can be mounted to pergola sides and planted with climbing vines, clematis, jasmine, or climbing hydrangea fill in within two growing seasons.
Bamboo screening works for renters or temporary setups. Roll-out bamboo fencing attaches to existing chain-link or wood fence frames with zip ties or galvanized wire. It won’t last more than 3–5 years in wet climates but provides quick, low-cost coverage.
Avoid planting running bamboo (like golden bamboo) directly in the ground unless contained by rhizome barriers sunk at least 24 inches deep. It spreads aggressively and can invade neighbor yards, leading to costly removal.
Incorporating Water Features for Tranquility
Moving water masks traffic noise and adds a sensory layer that static décor can’t match. The scale of the feature should match the yard’s size and the homeowner’s maintenance tolerance.
Recirculating fountains (self-contained units with integrated pumps) are the simplest entry point. They sit on any level surface, require only an outdoor GUSS-rated outlet, and need occasional topping off as water evaporates. Expect to add 1–2 gallons per week in hot, dry climates.
For a built-in look, consider a bubbling rock or urn fountain. These require digging a reservoir basin (typically 18–24 inches deep, lined with pond liner), installing a submersible pump (sized by GPH, aim for 100–200 GPH for small features), and placing the decorative stone over a grate. Run a dedicated GFCI-protected circuit to the pump: this is electrical work near water, so hire a licensed electrician if unfamiliar with NEC requirements for wet locations.
Small ponds (under 100 gallons) can be installed in a weekend using preformed liners or flexible EPDM rubber. Excavate to the liner’s depth, remove rocks and roots, add a 2-inch sand base, then position the liner. Edge with flagstone or river rock set in mortar for a finished look. Stock with mosquito fish or add a fountain to keep water moving, stagnant ponds breed mosquitoes within days.
Larger ponds or koi ponds require filtration, aeration, and deeper excavation (3–4 feet minimum in cold climates to prevent winter freeze). These projects cross into landscape contractor territory unless the homeowner has prior water feature experience. When planning outdoor spaces, incorporating water elements early helps create a cohesive design.
Skip solar-powered pumps for anything but the smallest fountains, they’re inconsistent and typically underpowered. Hardwired pumps deliver steady flow and integrate with timers for automatic operation.
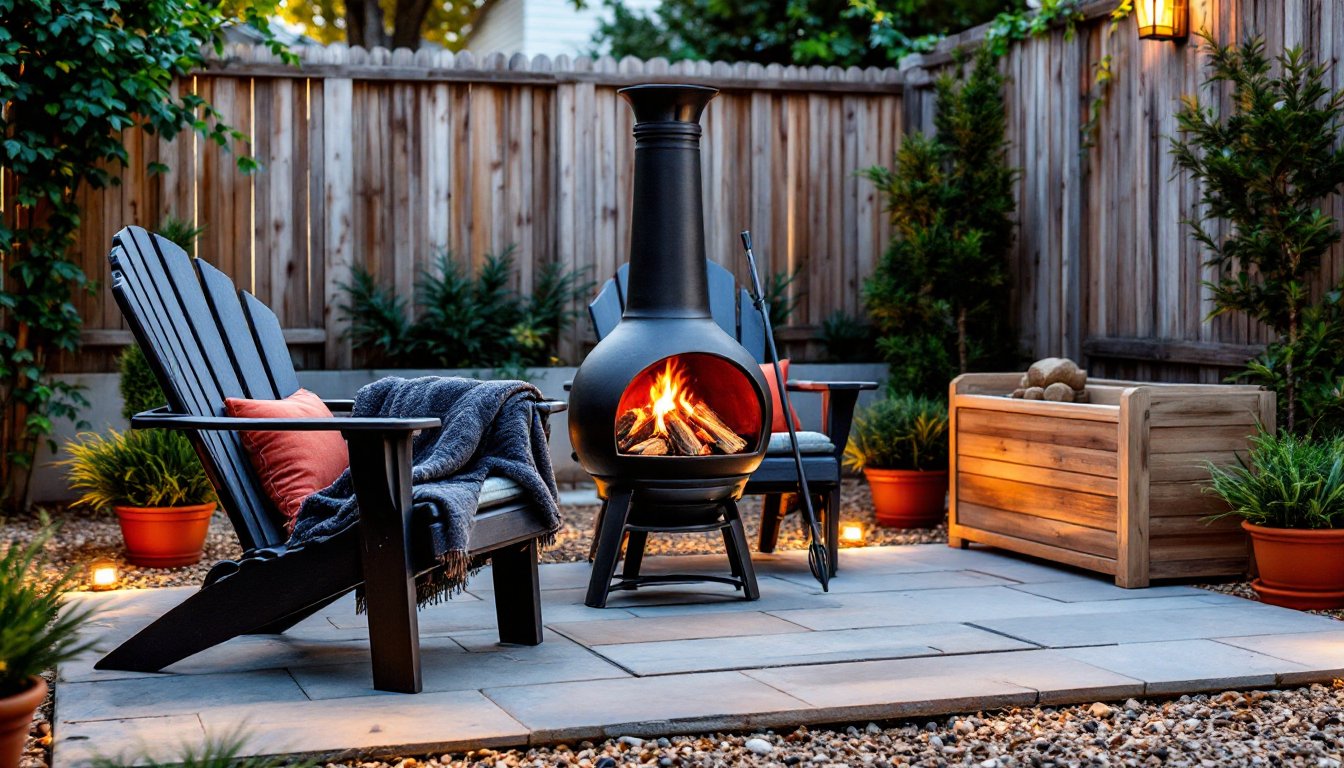
Building a Fire Pit or Outdoor Fireplace
Fire features extend outdoor season use and create natural gathering points. They also come with code requirements and safety considerations.
In-ground fire pits are the most DIY-friendly option. Dig a circular or square pit 12–18 inches deep and 36–48 inches in diameter. Line the interior with fire brick (rated to 2,000°F+) set in refractory mortar. The outer ring can be retaining wall blocks or natural stone. Add a 4–6 inch gravel base for drainage. Keep the pit at least 10 feet from structures, overhangs, and low-hanging branches, this is a typical code minimum, but verify with the local fire marshal.
Above-ground metal fire rings are code-compliant in most areas and portable. Look for Corten steel (weather-resistant, develops a rust patina) or powder-coated steel models. Pair with a non-combustible base like pavers, concrete, or gravel, never place directly on a wood deck.
For permanent installations, a stone or brick fire pit with a steel liner provides the best longevity. Use CMU blocks for the core structure (8x8x16 inches, stacked with Type S mortar), then veneer with stone or brick. Cap the top course with concrete cap blocks or cut stone. Install a gas burner kit (requires a natural gas line or propane supply) for instant on/off control and cleaner combustion. Gas lines must be run by a licensed plumber or gas fitter, this isn’t a DIY shortcut area.
Outdoor fireplaces (masonry or prefab metal) need a footing that extends below frost line, a reinforced firebox, and a chimney tall enough to draft properly (minimum 15 feet from firebox to cap is typical). These are permit-required projects in virtually all jurisdictions. Prefab units reduce labor but still need proper footings and clearances per manufacturer specs.
Always check if the property is in a no-burn zone or subject to seasonal fire bans. Some HOAs prohibit open flames entirely. Verify before breaking ground.
Designing a Garden Oasis With Plants and Landscaping
Planting transforms hardscape into habitat. The goal is layered interest, canopy trees, understory shrubs, perennials, and ground covers, that delivers year-round appeal with manageable upkeep.
Start with a tree if the yard lacks shade. Fast-growing options like red maple, river birch, or ornamental pear provide canopy in 5–7 years. Avoid planting within 10 feet of the house foundation or within root zone of septic fields and utility lines. Dig a hole twice as wide as the root ball but no deeper, planting too deep is a leading cause of tree failure.
Shrubs define space and provide privacy at eye level. Group odd numbers (3, 5, 7) for natural flow. Hydrangeas, spiraea, and boxwood are reliable across USDA zones 5–9. Mulch around plantings with 2–3 inches of shredded hardwood or pine bark, keep mulch 2 inches away from stems to prevent rot.
Perennial borders add color without annual replanting. Choose a mix of bloom times: spring bulbs (daffodils, tulips), summer perennials (coneflower, black-eyed Susan), and fall bloomers (asters, sedum). Amend soil with compost (2–3 inches tilled into the top 6 inches) before planting to improve drainage and fertility. Exploring different landscaping approaches can help refine plant selection for specific yard conditions.
Edging keeps beds tidy. Metal or plastic landscape edging installs quickly and prevents grass creep. For a permanent look, use soldier course bricks (set vertically) or stone borders.
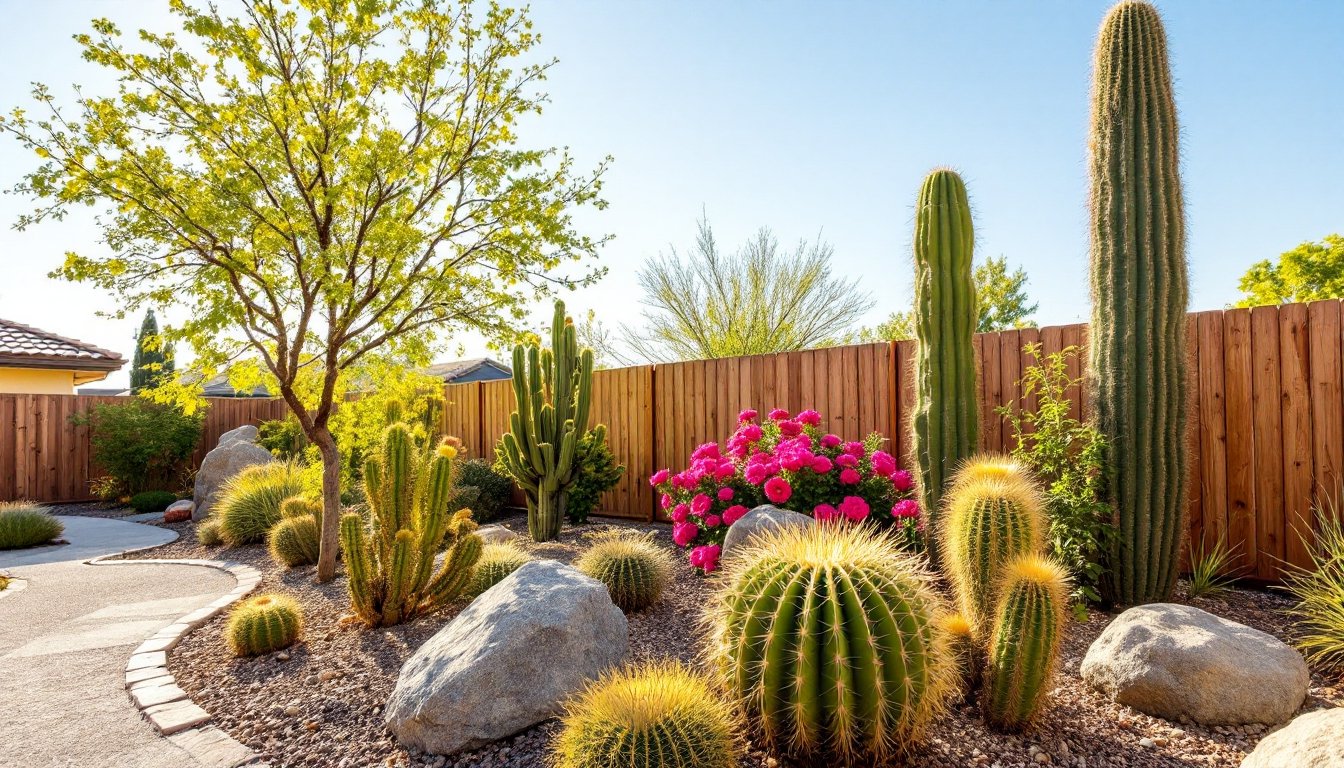
If working on a limited budget, prioritize native plants, they cost less, require less water, and support local pollinators. Local extension offices often publish recommended species lists by region.
Skip invasive species like English ivy, burning bush, or Bradford pear. They spread beyond property lines and choke out native ecosystems. Many states now restrict their sale.
Installing Lighting to Set the Mood
Lighting extends usable hours and adds safety to pathways and steps. A layered approach, ambient, task, and accent lighting, creates depth without glare.
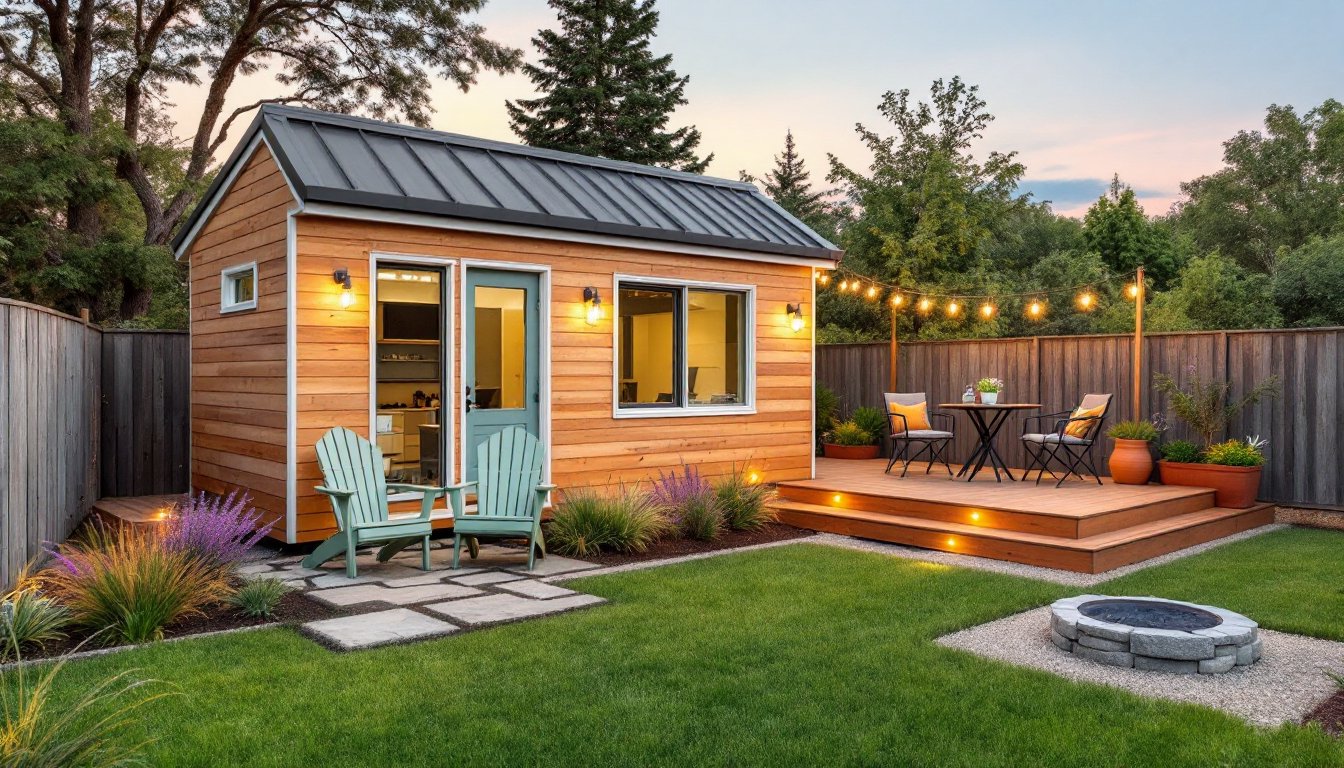
Low-voltage LED landscape lighting (12V systems) is DIY-friendly and energy-efficient. Kits include a transformer (typically 150W or 300W capacity), cable, and fixtures. Mount the transformer near an outdoor outlet and run the cable (14- or 12-gauge direct-burial wire) to fixture locations. Bury cable 6 inches deep or run through conduit in high-traffic areas. Space path lights 8–10 feet apart for even coverage without over-lighting.
For accent lighting, use uplight fixtures to highlight trees, architectural features, or water elements. Position them at the base, angled upward, aim for subtle wash, not spotlight intensity. Downlights mounted in pergola beams or trees mimic moonlight and provide soft overhead illumination.
String lights (cafe-style bulbs) are popular for patios and dining areas. Use outdoor-rated cords (look for UL wet location rating) and hang with screw-in hooks or guide wires tensioned between posts. For permanent installations, run the power line through conduit and mount to a switch inside the house. Publications focused on outdoor living often showcase creative lighting layouts for different climates.
Solar path lights work for low-traffic areas but deliver inconsistent brightness. They’re fine for decorative accents but shouldn’t be the sole lighting source.
Step lights and deck lights (small recessed or surface-mount fixtures) are critical for stairs and elevation changes. Wire them to the same circuit as overhead lights or use battery-powered LED versions (replace batteries annually).
Avoid high-pressure sodium or halogen fixtures, they consume more power, generate heat, and have short bulb life compared to LEDs. LED fixtures typically last 25,000+ hours and draw 80% less energy.
Conclusion
Building a backyard retreat doesn’t happen in a single weekend, but it doesn’t require a contractor’s budget either. Focus on one or two high-impact elements first, seating and privacy, or fire and lighting, then layer in additional features as time and budget allow. Each upgrade should reflect how the space will actually be used, not just how it photographs. Measure twice, prep thoroughly, and don’t skip safety steps. The result is an outdoor space that gets used, not just admired from the kitchen window.