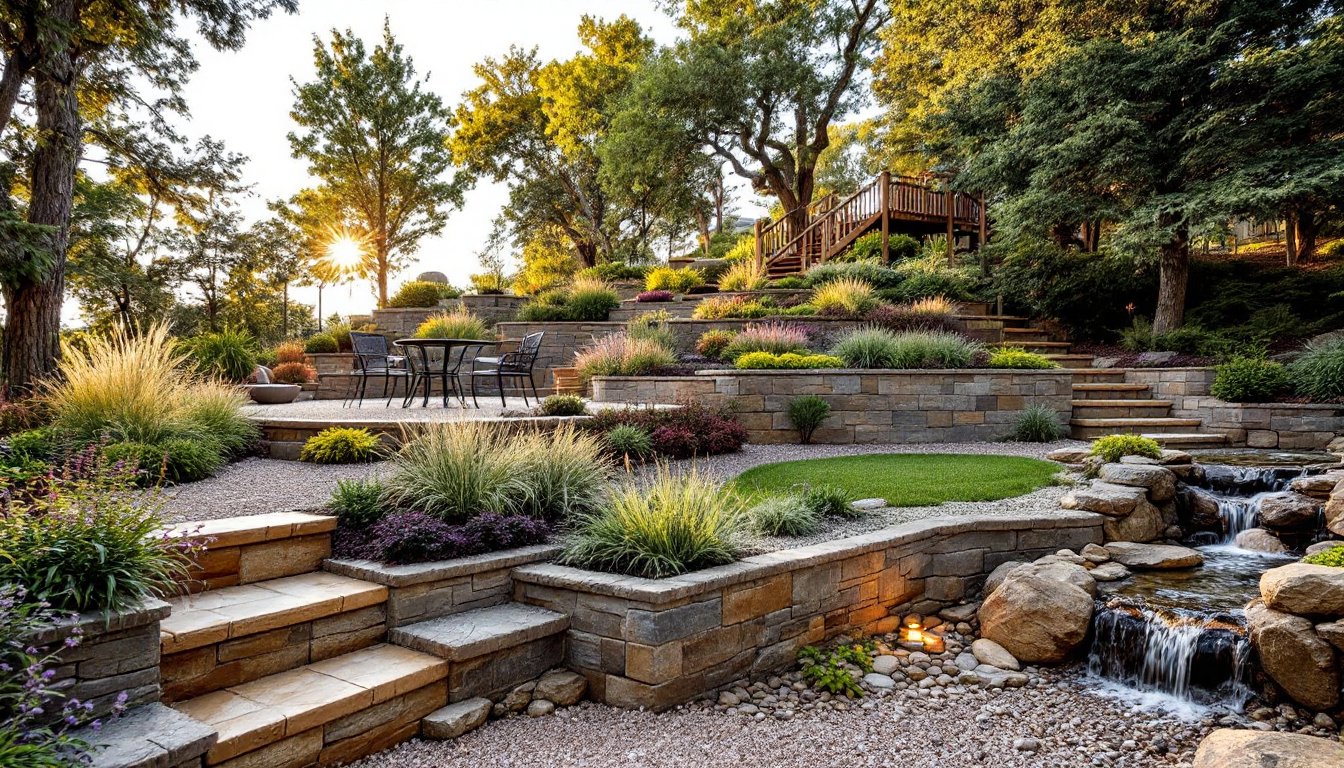
A backyard with both a gazebo and fire pit creates the kind of outdoor living space that gets used year-round, not just when the weather cooperates. The combination isn’t just about aesthetics, it’s about creating defined zones for dining, lounging, and gathering around open flame. When planned correctly, these two features work together to extend a home’s usable square footage without the cost or complexity of building an addition. The key is understanding placement, material choices, and how to integrate them into the existing landscape without creating maintenance headaches or code violations.
Table of Contents
ToggleKey Takeaways
- A backyard with a gazebo and fire pit extends outdoor living by 60–80 extra days per year in cooler climates while adding measurable home resale value of 50–70% of material costs.
- Proper placement is critical: position the fire pit 10–15 feet from structures per building codes, downwind from the gazebo, and on a non-combustible base like concrete or natural stone pavers.
- Gazebo styles like open-air pavilions work best for fire pit pairings, while material choices such as cedar or vinyl affect both maintenance requirements and longevity.
- Propane fire pits are the practical choice for gazebo settings, offering instant ignition and zero smoke, whereas wood-burning pits require more clearance and produce significant smoke.
- DIY assembly with kit gazebos and block-built fire pits can reduce costs significantly, with a basic setup achievable in a single weekend using retaining wall blocks and a prefab steel ring.
- Enhance your gazebo and fire pit space with layered lighting, outdoor rugs, built-in seating, and integrated storage to create a functional outdoor room used year-round.
Why Combine a Gazebo and Fire Pit in Your Backyard
A gazebo provides overhead shelter and defines the footprint of an outdoor room, while a fire pit becomes the natural focal point that draws people in. Together, they solve the two biggest complaints about outdoor spaces: lack of shade during the day and lack of warmth after sunset.
From a practical standpoint, the gazebo acts as an anchor structure. It houses seating, lighting, and even ceiling fans, while the fire pit extends the usable season well into fall and early spring. In regions with cooler evenings, this combination can add 60-80 extra days of outdoor use per year.
The pairing also adds measurable value during resale. Outdoor living features consistently rank in the top five ROI improvements for home sellers, particularly in suburban markets where lot sizes support dedicated entertainment zones. A well-executed backyard makeover that includes both elements can recoup 50-70% of material costs at sale time, according to Remodeling Magazine’s annual Cost vs. Value report.
Choosing the Perfect Location for Your Gazebo and Fire Pit
Start by checking local setback requirements. Most jurisdictions require fire pits to sit at least 10-15 feet from structures, including gazebos, fences, and the house itself. The International Residential Code (IRC) provides baseline guidance, but always verify with your local building department before breaking ground.
Slope and drainage matter more than most DIYers expect. A gazebo needs a level base, ideally a concrete slab or compacted gravel pad with proper drainage. Placing it on a slope without adequate foundation work will lead to racking (twisting of the frame) and premature wear on fasteners.
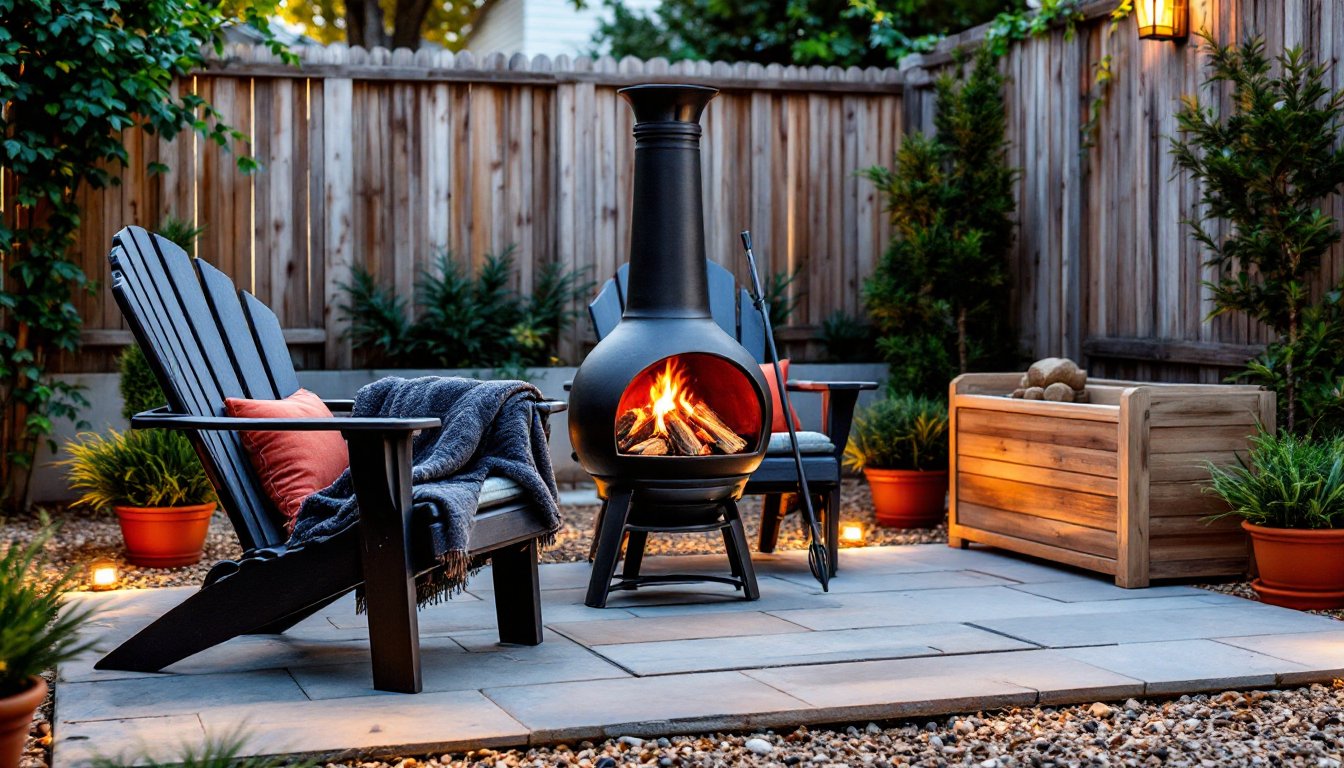
Consider wind patterns and smoke direction. Position the fire pit downwind from primary seating areas inside the gazebo, typically 8-12 feet away. This distance keeps smoke out of the structure while still allowing radiant heat to reach guests. Avoid placing either feature under low tree branches or power lines: gazebos need 10 feet of vertical clearance, and fire pits shouldn’t sit beneath anything combustible.
Access and traffic flow are the final piece. Plan a clear path from the house to the gazebo, preferably 4 feet wide minimum, using pavers, flagstone, or poured concrete. This prevents soil compaction and muddy tracks during wet weather.
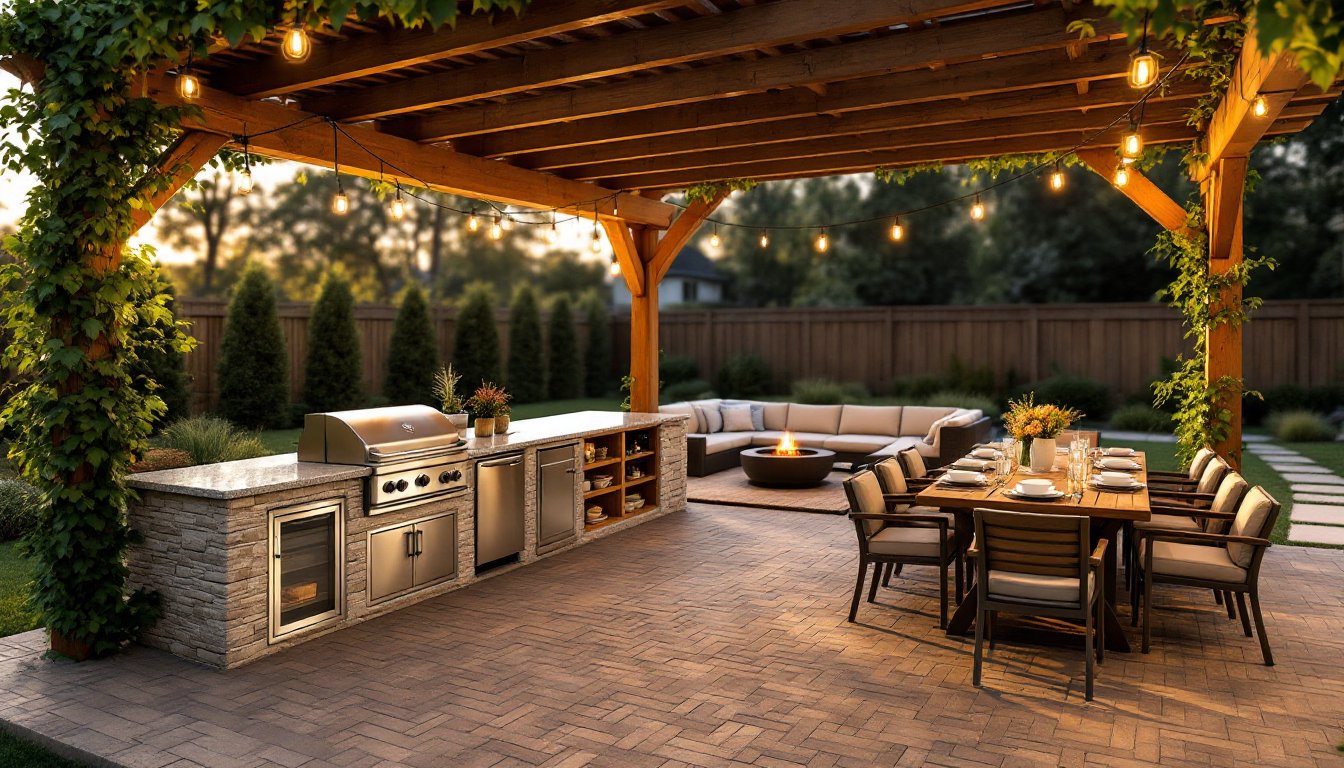
Gazebo Styles That Complement Fire Pit Areas
Open-air pavilions work best for fire pit pairings. These structures feature a solid roof (usually asphalt shingles or metal) supported by 4×4 or 6×6 posts, with no walls or railings to block sightlines or trap smoke. They provide rain and sun protection without feeling enclosed.
Screened gazebos add insect protection but require more ventilation planning. If pairing with a fire pit, install the pit outside the screened perimeter, never inside. Smoke and embers will damage screens and create a safety hazard. But, screens do make the gazebo usable during bug-heavy months in humid climates.
Pergolas offer a lighter alternative. They provide partial shade through slatted roofs and work well when integrated with landscape design ideas that include climbing vines like wisteria or grapevines. The open roof allows smoke to dissipate naturally. Keep in mind that pergolas don’t shed rain, so cushions and furniture need to be weather-resistant or easily moved.
Material choice affects longevity and maintenance. Pressure-treated pine (rated for ground contact) is the budget option but requires annual staining. Cedar resists rot naturally and weathers to a silver-gray patina but costs 30-40% more. Vinyl or composite gazebos eliminate wood maintenance but typically come as prefab kits with limited customization.
Fire Pit Options for Gazebo Settings
Wood-burning fire pits deliver authentic ambiance but produce the most smoke and require the most clearance. If going this route, use a fire pit with a spark screen, a must-have, not optional. Expect to burn through 15-20 cords of seasoned hardwood per season if used weekly. Oak, hickory, and ash produce the best heat with minimal popping.
Propane fire pits offer instant ignition and adjustable flame control with zero smoke. They run on standard 20-pound propane tanks (the same used for gas grills), which provide roughly 8-10 hours of burn time at medium heat. Models with electronic ignition and flame-sensing thermocouples meet most local codes without special permits. Designers at Gardenista often recommend propane for tighter spaces where smoke management is critical.
Natural gas fire pits require a dedicated gas line run from the house meter, which means trenching and hiring a licensed plumber or gas fitter. The upfront cost is $800-1,500 for installation, but there’s no tank to refill. This option works best when planned during new construction or major renovations.
Gel fuel and tabletop models are decorative more than functional. They produce minimal heat, think ambiance, not warmth. Useful for smaller patios but won’t extend the season or provide real gathering heat.
Always place fire pits on a non-combustible base: poured concrete, natural stone pavers, or fire-rated brick. Avoid placing directly on wood decks unless using a commercial fire pit pad rated for 1,200°F+.
Design Ideas to Enhance Your Gazebo and Fire Pit Space
Built-in seating around the fire pit maximizes capacity without crowding the gazebo. Use retaining wall blocks (like those from Belgard or Pavestone) to create a 16-18 inch tall seat wall with a 12-14 inch depth. Cap with smooth flagstone or concrete caps for comfort. Add outdoor cushions during use and store them inside when not needed.
Lighting layers make the space usable after dark. Combine three types: overhead lighting in the gazebo (LED canister lights or a chandelier on a dimmer), path lighting along walkways (solar or low-voltage 12V), and accent lighting around the fire pit (in-ground well lights or uplights on nearby plantings). Install lighting on separate switches so users can control mood and brightness.
Outdoor rugs and textiles define zones and add comfort underfoot. Use polypropylene or solution-dyed acrylic rugs rated for outdoor use, they resist mold, fading, and moisture. Size the rug so it extends 12-18 inches beyond all furniture legs to avoid a “floating furniture” look.
Integrated storage keeps the area tidy. Build a small storage bench inside the gazebo for cushions, fire starters, and blankets. Use weather-resistant deck boxes near the fire pit for firewood or propane tank storage. According to Southern Living, well-planned storage is a hallmark of functional outdoor rooms.
Overhead fans in the gazebo improve comfort on humid summer nights. Install a wet-rated ceiling fan (UL-listed for outdoor use) with a downrod appropriate to your ceiling height. A 52-56 inch fan works for most 10×10 or 12×12 gazebos.
Budget-Friendly DIY Tips for Building Your Setup
Start with a kit gazebo if carpentry isn’t a strong suit. Big-box retailers sell cedar or pressure-treated gazebo kits in the $1,200-2,500 range that include pre-cut lumber, hardware, and instructions. Two people with basic tool skills can assemble one in a long weekend. You’ll need a drill/driver, level, post-hole digger, and socket set. Rent an auger if setting posts in hard clay or rocky soil.
DIY your fire pit using retaining wall blocks and a steel fire ring. A simple 36-inch diameter fire pit costs $150-250 in materials. Dig down 6 inches, fill with pea gravel for drainage, and stack blocks in concentric circles. Drop in a prefab steel ring (sold at home centers for $40-80) and backfill gaps with gravel. No mortar needed for a basic design.
Pour your own concrete pads to save on labor. A 10×10 slab requires roughly 2.5 cubic yards of concrete (around $400-500 if mixed on-site with bags, or $150-200 if delivered by truck). Stake and level the forms, add 4-inch gravel base and 6×6 W1.4 welded wire mesh for reinforcement. Finishing with a broom texture provides traction and hides minor imperfections. Homeowners executing a gazebo installation often tackle the pad themselves to keep costs down.
Repurpose materials where code allows. Reclaimed barn wood can be milled into gazebo beams (if structurally sound and treated). Salvaged brick makes excellent fire pit surrounds and costs a fraction of new pavers. Always inspect reclaimed lumber for rot, insect damage, and structural integrity before use, beauty doesn’t matter if it can’t carry a load.
Phase the project to spread costs. Build the gazebo foundation and frame in year one, add roofing and finishes in year two, and tackle hardscaping and the fire pit in year three. This approach also allows time to test layout and make adjustments before committing to permanent features. Experts at Sunset recommend this staged approach for large outdoor projects to avoid budget fatigue.
Skip the bells and whistles initially. Install basic lighting and seating first: add fans, screens, and built-ins later as budget allows. A functional structure beats a half-finished showpiece every time.
Conclusion
A well-planned gazebo and fire pit combo turns a backyard into a true outdoor living room that holds value across seasons and resale cycles. Focus on code-compliant placement, choose materials suited to the local climate, and don’t skip the foundational work that ensures longevity. Start with the structure, layer in comfort and lighting, and the space will naturally become the gathering spot everyone gravitates toward.