A backyard fire pit changes everything. It turns an underused corner into the spot everyone gravitates toward on cool evenings, extends the outdoor season by weeks, and gives you a reason to actually use that patio furniture. Whether planning a ground-level ring of stone or a gas-fed table centerpiece, the difference between “nice idea” and “actually gets used” comes down to thoughtful location, smart layout, and finish details that make the space comfortable year-round. This guide walks through the decisions that matter, from clearances and seating flow to lighting that doesn’t require fumbling with extension cords in the dark.
Table of Contents
ToggleKey Takeaways
- Proper backyard firepit area location requires 10–20 feet of clearance from structures and trees, good drainage on non-combustible surfaces, and attention to wind patterns to avoid smoke in guests’ faces.
- Seating should be positioned 3–4 feet from the fire’s edge in circular or semi-circular arrangements at 16–18 inches high to maximize conversation and comfort for 8–10 people.
- Layered lighting using low-voltage LED paths, uplighting, and string lights creates ambiance while keeping the space safe without overpowering the fire’s glow.
- Material choices between wood-burning and gas fire pits affect maintenance levels—wood fires require seasoned firewood and ash cleanup, while gas pits offer convenience with switch-lighting and no ash.
- Finishing touches like spark screens, firewood storage racks, fire extinguishers, and heat-resistant tools transform a backyard firepit area from a hazard into a functional, safe entertaining space.
- Local fire codes, burn permits, and air quality restrictions must be checked before installation, as many jurisdictions treat permanent built-in fire pits differently than portable models.
Choosing the Perfect Location for Your Fire Pit
Location trumps design every time. A beautiful fire pit in the wrong spot collects leaves and gets ignored.
Clearances matter. Most local fire codes require at least 10 to 20 feet of clearance from structures, fences, and overhanging tree branches. Check with the local building department, some jurisdictions treat permanent, built-in fire pits differently than portable models and may require a permit. If the home has overhead power lines, keep a minimum of 15 feet of vertical clearance.
Wind patterns make or break usability. Spend a few evenings in the yard observing how wind moves through the space. Constant smoke in guests’ faces kills the vibe fast. Natural windbreaks, hedges, fences, or the house itself, can redirect airflow, but avoid fully enclosed areas where smoke has nowhere to go.
Ground surface and drainage need attention. Fire pits shouldn’t sit directly on grass or wood decking (a non-combustible base like gravel, pavers, or poured concrete is essential). Avoid low spots where water pools after rain: nobody wants to bail out a fire pit before every use. A slight grade away from the pit helps with drainage.
Accessibility and sight lines. The best fire pit locations connect naturally to the house, close enough that carrying drinks and firewood doesn’t feel like a hike, but far enough that smoke doesn’t drift indoors. Consider integrating the fire pit into broader backyard landscape design plans to create a cohesive outdoor flow.
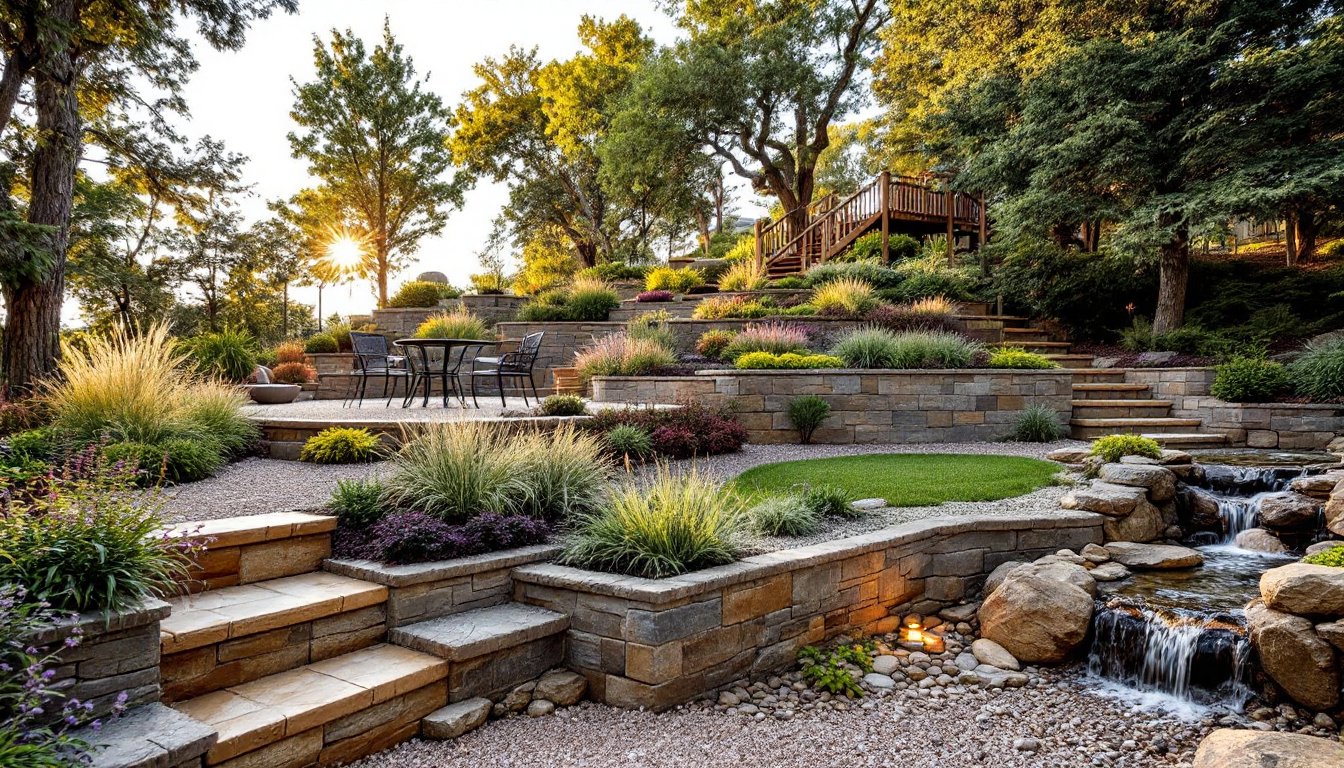
If the yard slopes, a level pad with a retaining wall or terracing keeps seating stable and prevents ankles from twisting on uneven ground.
Fire Pit Design Styles to Match Your Backyard
Fire pit styles range from rugged campfire circles to sleek, modern installations. The right choice depends on how the yard gets used and how much effort goes into maintenance.
Rustic stone or brick fire pits fit naturally into wooded or cottage-style yards. Fieldstone, flagstone, or firebrick create a timeless look and handle high heat without cracking. For a DIY build, use firebrick for the inner ring (rated to withstand direct flame) and face it with decorative stone. Mortar joints need periodic repointing, especially in freeze-thaw climates.
Modern steel or concrete bowl designs work well in contemporary settings. Steel fire bowls (often cor-ten or powder-coated steel) develop a weathered patina over time or maintain a clean finish depending on the coating. Concrete bowls, either poured in place or prefab, offer a minimalist profile and pair well with geometric paver patios.
Sunken or in-ground pits create a more intimate, campfire feel and reduce wind interference. These require more excavation and drainage planning (a gravel base and perforated drain pipe prevent water from pooling). In-ground pits often need deeper footings and block walls if the soil is sandy or loose.
Gas vs. wood burning is a lifestyle decision. Wood fires deliver authentic crackle and scent but require seasoned firewood, ash cleanup, and more frequent maintenance. Gas fire pits (natural gas or propane) light with a switch, produce no ash, and allow precise flame control. Gas lines need professional installation and must meet local codes (typically NEC and IRC Chapter 24 for fuel gas). Both fuel types work in most styles: the choice affects ongoing effort, not aesthetics.
Built-In vs. Portable Fire Pits
Built-in fire pits anchor a space and allow for integrated seating, planters, and hardscape. They’re permanent, expect to pour footings, run gas lines (if applicable), and possibly pull a permit. Built-ins shine when designing a full outdoor room: they give structure and define zones within a larger yard.
Portable fire pits offer flexibility. Move them for mowing, rearrange seating layouts, or take them to a new house. Most portable models don’t require permits (check locally), and setup is as simple as picking a level, non-combustible surface. For renters or anyone testing out fire pit life before committing to a build, portables make sense. Quality varies, look for thick steel construction (at least 3mm), stable legs, and a spark screen. Cheap sheet-metal bowls warp after a season.
Seating Arrangements That Encourage Conversation
A fire pit without seating is just an outdoor hazard. Seating layout determines whether people cluster around talking or drift off to their phones.
Distance and height. Seating should sit 3 to 4 feet from the fire’s edge, close enough for warmth, far enough to avoid sparks and excessive heat. Chair or bench height around 16 to 18 inches keeps sightlines level and makes conversation natural. Built-in stone or concrete benches look sharp but add cushions or outdoor pillows: bare stone gets cold and uncomfortable fast.
Circular or semi-circular arrangements work best. Everyone faces the fire and each other. Avoid straight rows or L-shapes that force half the group to crane their necks. For larger gatherings, a full circle with a 12- to 14-foot diameter accommodates 8 to 10 people comfortably.
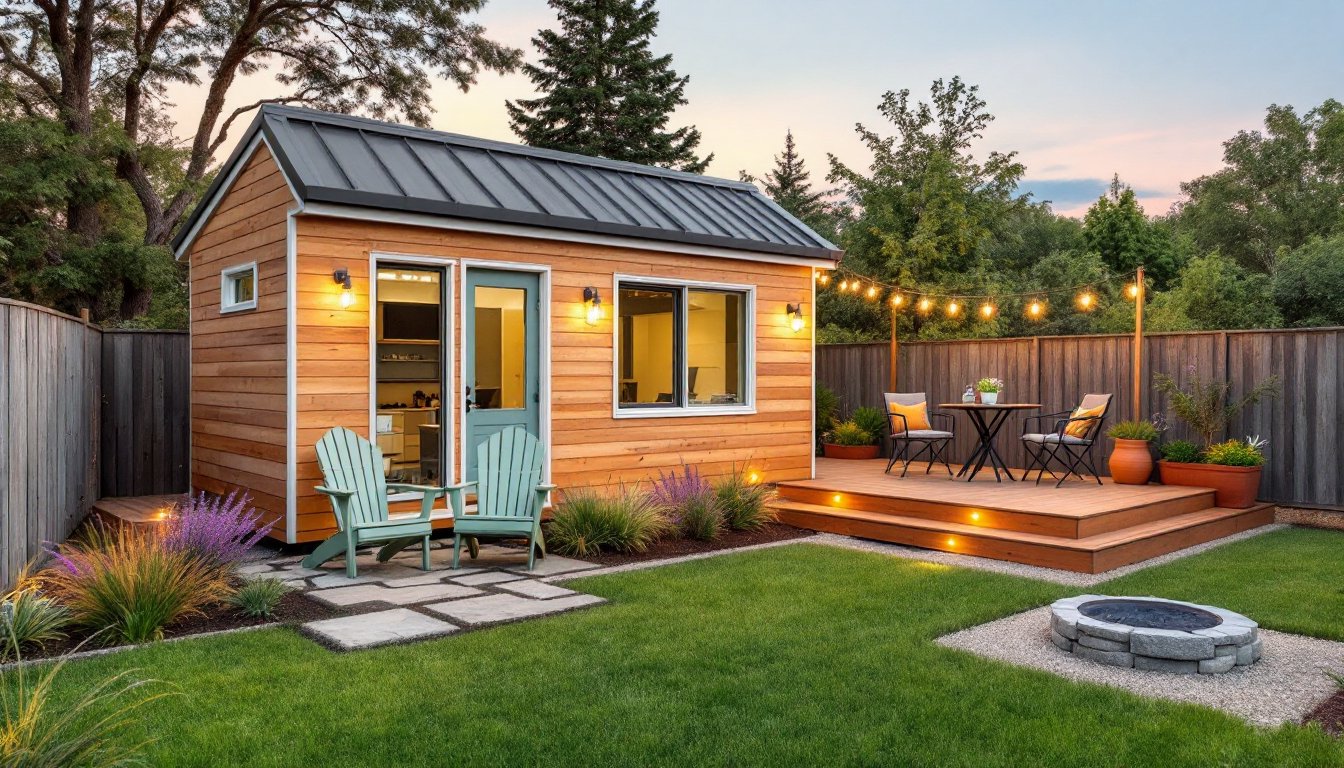
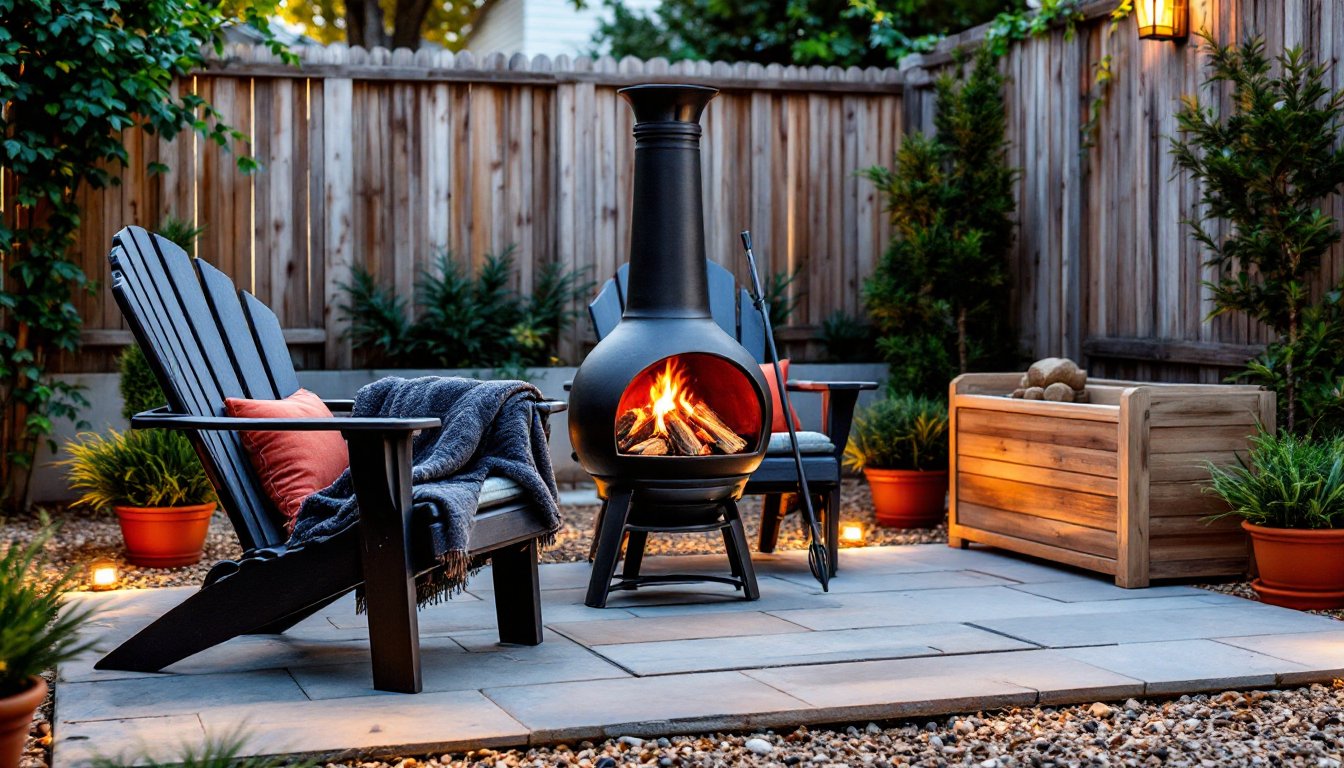
Mixed seating types add flexibility. Combine permanent benches with movable Adirondack chairs or outdoor sectionals. This lets guests adjust proximity to the fire as it burns down and gives options for different group sizes. For those considering a broader backyard makeover, coordinating seating with other outdoor features creates a unified entertaining space.
Material choices. Teak, cedar, or treated lumber weathers well and needs minimal upkeep (an annual coat of sealer or oil keeps wood from graying). Metal and resin furniture resists rot but can get uncomfortably hot or cold depending on the season: add cushions. Stone or poured concrete benches are ultra-durable but cold in winter and hard without padding.
Side tables and drink ledges. Everyone needs a spot for a drink or s’mores stick. Built-in stone caps around a fire pit double as ledges. For portable setups, small side tables or a low wall with a capstone within arm’s reach prevent spills and make the space functional.
Creating Ambiance with Lighting and Landscaping
A fire pit glows, but it’s not enough light for safe movement or finding dropped keys. Thoughtful lighting and plantings turn a fire pit area into a true outdoor room.
Layered lighting. Combine path lights (low-voltage LED strips or solar stakes) along walkways with uplighting on nearby trees or architectural features. String lights or lanterns overhead add a soft glow without harsh shadows. Avoid bright flood lights, they kill the ambiance and make the fire less visible. Dimmer-compatible LED fixtures give control over brightness as the evening progresses.
Low-voltage vs. solar. Low-voltage systems (typically 12V) deliver consistent, reliable light and work well in shaded yards where solar struggles. They require a transformer and buried cable (use direct-burial rated wire). Solar lights install faster with no wiring but depend on sun exposure and battery life: expect dimmer output and shorter run times in winter.
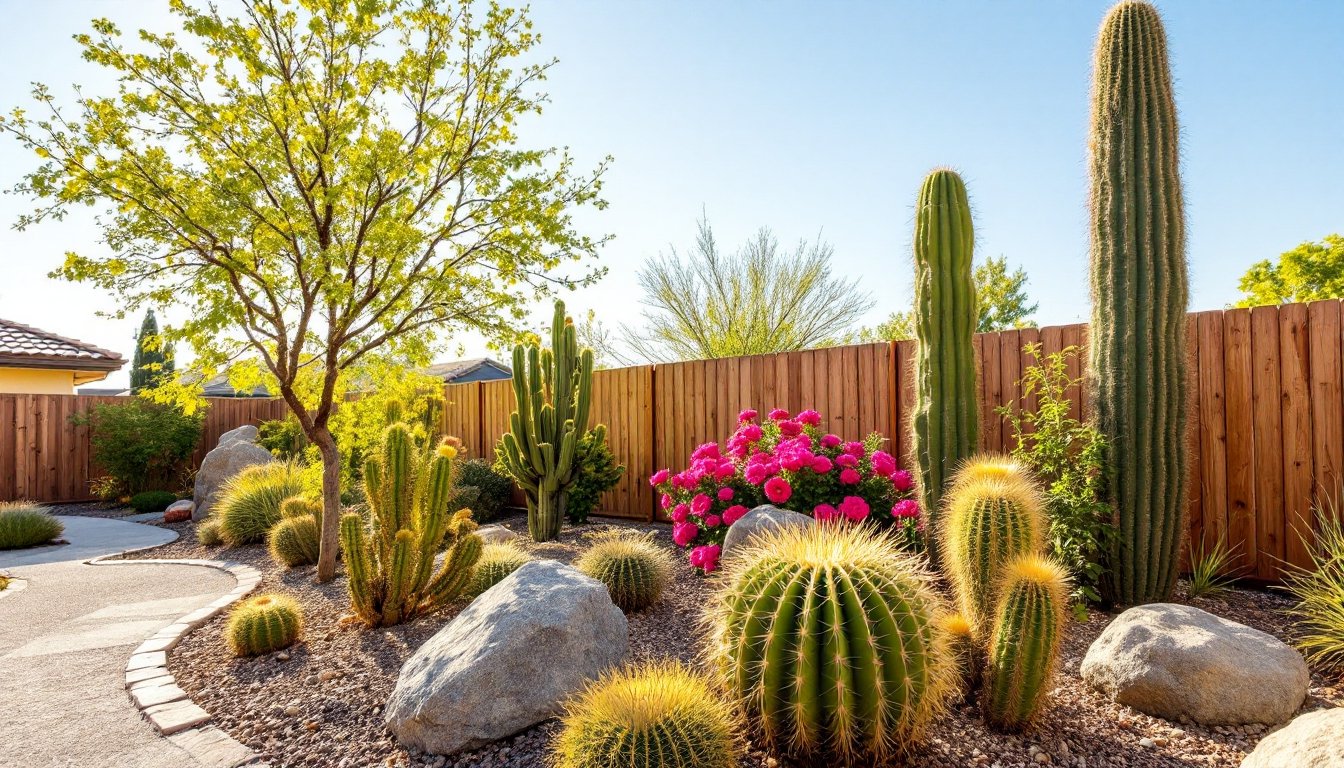
Plantings for texture and privacy. Evergreen shrubs like boxwood or juniper provide year-round structure and soften hard edges around stone or concrete. Ornamental grasses (like Karl Foerster or maiden grass) add movement and sound in the breeze. Keep flammable plants like ornamental grasses at least 10 feet from the fire: sparks can ignite dry foliage.
Ground covers and mulch. Gravel, crushed stone, or decomposed granite around the fire pit area reduces mud, defines the space, and improves drainage. Avoid wood mulch or bark within 5 feet of the fire, it’s a fire hazard. For a softer look, plant low-growing ground covers like creeping thyme or sedum between pavers: they tolerate foot traffic and won’t ignite.
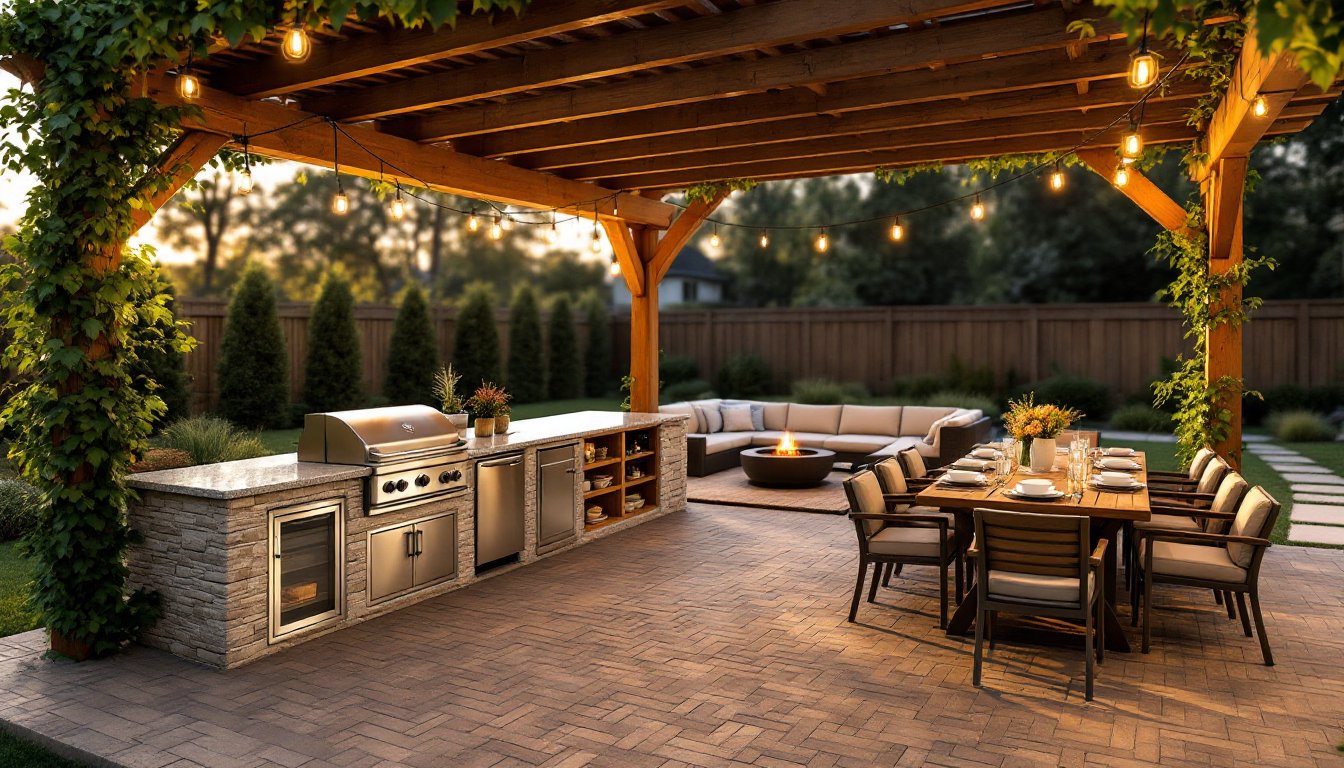
Screening and enclosure. Tall hedges, lattice panels, or a pergola with climbing vines create a sense of enclosure without blocking airflow. This is especially useful in yards with close neighbors or where the fire pit sits near the property line. Landscape designers at Gardenista suggest selecting surfaces and materials that complement both the fire feature and surrounding plantings.
Finishing Touches: Accessories and Safety Features
The details separate a functional fire pit from one that actually gets used.
Firewood storage. A dedicated rack or built-in niche keeps wood dry and close at hand. Seasoned firewood (moisture content below 20%) burns cleaner and produces less smoke. Store wood off the ground on a rack with a cover or under a roof overhang. A firewood holder next to the pit keeps a few logs within easy reach without cluttering the seating area.
Spark screens and covers. A mesh spark screen prevents embers from popping out and igniting nearby furniture or plantings. For wood-burning pits, this is essential, not optional. When the fire pit’s not in use, a fitted cover protects the interior from rain, leaves, and debris. Steel fire bowls rust quickly without covers: even stainless steel benefits from protection.
Fire extinguisher and water source. Keep a 5-lb ABC-rated fire extinguisher nearby, mounted in a weatherproof cabinet or stored in an adjacent shed. A garden hose with a spray nozzle is a practical backup. Never leave a fire unattended, and fully extinguish it before heading inside, douse with water, stir the ashes, and douse again until everything’s cool to the touch.
Heat-resistant surfaces and tools. A hearth pad or non-combustible mat under portable fire pits protects decking or pavers. Long-handled fire pokers, tongs, and a small ash shovel make fire management easier and safer. Welding gloves or heat-resistant fireplace gloves protect hands when adjusting logs.
Local fire bans and air quality alerts. Many municipalities restrict open burning during dry seasons or poor air quality days. Check local regulations before lighting up, especially in wildfire-prone regions. Some areas require a burn permit even for recreational fires.
Accessories like outdoor blankets, beverage coolers, and weatherproof storage for cushions extend usability and keep the area comfortable. Pairing the fire pit with other outdoor features, such as an outdoor bar area, can elevate the entire backyard into an entertainment hub that western living enthusiasts showcased on Sunset would appreciate.
Conclusion
A well-planned fire pit area doesn’t happen by accident. It’s the result of careful site selection, functional seating, and details that make the space safe and comfortable. Whether opting for a DIY stone ring or a professionally installed gas feature, the goal is the same: create a spot that pulls people outdoors and keeps them there. For homeowners exploring rustic touches, Country Living offers inspiration on farmhouse-style fire pit setups. With the right groundwork, a backyard fire pit becomes the most-used feature in the yard, not just another project that looked good on paper.