Adding a TV to your backyard isn’t just about catching the game outside, it’s about creating a functional space that extends your living area and makes every gathering more memorable. Whether you’re planning weekly movie nights under the stars or want a setup for Sunday football with friends, an outdoor TV changes how you use your yard. But this isn’t as simple as dragging an old flatscreen onto the deck. Weather, glare, power runs, and mounting logistics all require real planning. This guide walks through the practical decisions you’ll need to make, from choosing the right equipment to creating a viewing area that actually works.
Table of Contents
ToggleKey Takeaways
- A backyard TV setup transforms outdoor space into a multi-use entertainment area while boosting property appeal and extending your living space for year-round gatherings.
- Choose between outdoor-rated TVs ($2,000–$4,000 for 55-inch models with 700+ nits) built for weather resistance, or budget-friendly indoor TVs in protective enclosures for covered installations.
- Screen size matters outdoors—a 55-inch minimum is recommended for typical seating areas 10–15 feet away, as ambient light washes out smaller displays.
- Mount your backyard TV ideas to an exterior stud wall, pressure-treated post, or pergola/gazebo ceiling using weather-resistant materials and articulating mounts for sun angle adjustments.
- Create a cozy viewing area with comfortable seating arranged in a 30-degree arc, layered lighting on dimmers, shade solutions (pergolas or sail shades), and outdoor speakers to address sound dissipation.
- Run a dedicated 20-amp GFCI-protected outdoor circuit installed by a licensed electrician, using weatherproof UF-B cable or conduit, and add a whole-house surge protector for storm protection.
Why Install a TV in Your Backyard?
The short answer: it transforms dead outdoor space into a multi-use entertainment area. A backyard TV setup means you’re not herding everyone indoors when the weather’s perfect, and it opens up new hosting options, game days, movie nights, even karaoke if that’s your thing.
Beyond the social benefits, an outdoor TV can increase property appeal. Buyers looking at homes with finished outdoor living areas see them as functional extensions of square footage. It’s not a kitchen remodel in terms of ROI, but it’s a differentiator in competitive markets.
There’s also the simple enjoyment factor. Watching a game while grilling, letting kids watch a movie while adults chat nearby, or setting up a projector alternative that works in ambient light, these aren’t luxury additions. They’re practical uses of space you already own. Just be realistic: if your yard gets full Texas sun at 3 p.m. and you’re planning daytime viewing, you’ll need serious shade or a high-brightness display.
Choosing the Right Outdoor TV for Your Space
This is where most people either overspend or regret going cheap. You’ve got two main paths: a weatherproof outdoor-rated TV or a standard indoor TV inside a protective enclosure.
Outdoor-rated TVs are built to handle temperature swings, humidity, and dust. Brands like SunBrite, Samsung Terrace, and Séura make models rated for full or partial sun, with anti-glare screens and sealed components. Expect to pay 2-4 times what you’d spend on a comparable indoor model. A 55-inch outdoor TV typically runs $2,000–$4,000, depending on brightness (measured in nits, look for 700+ nits if you’ve got any daytime glare).
Indoor TVs with enclosures are the budget-friendly route. You buy a standard TV and house it in a weatherproof cabinet with ventilation, a fan, and a transparent cover. These enclosures range from $400 to $1,500 depending on size and features. This setup works well under covered patios or in climates with mild winters. The downside: you’re responsible for managing heat buildup, and the TV isn’t designed for freeze/thaw cycles if you’re in a cold region.
Screen size matters more outdoors than indoors. Viewing distances are often longer, and ambient light washes out smaller displays. For a typical patio seating area (10–15 feet from the screen), a 55-inch minimum makes sense. Go bigger if you’re setting up stadium seating or a larger backyard entertaining space.
Weather-Resistant vs. Regular TVs with Enclosures
Weather resistance isn’t just about keeping rain out. Outdoor TVs have sealed ports, internal heating elements for cold starts, and boards coated to resist condensation. They’re rated with an IP (Ingress Protection) code, look for IP55 or higher if the TV will face direct weather.
Regular TVs, even in enclosures, are vulnerable if moisture gets inside. Enclosures need proper ventilation to prevent heat damage, but vents also let in dust and bugs. If you’re in a dusty area or near saltwater, a true outdoor-rated TV is worth it.
That said, enclosures give you flexibility. You can swap the TV out, upgrade easily, and if you’re only using the setup seasonally, you can store the TV indoors during winter. For year-round, uncovered installations, go with a dedicated outdoor model.
Creative Mounting and Placement Ideas
Mounting an outdoor TV isn’t much different from indoor work, but you’re dealing with exterior-grade materials and weather exposure. Most installations use a weatherproof articulating mount (like those from Peerless or Chief) that allows tilt and swivel adjustments. This matters because sun angles change throughout the day.
Wall mounts are the simplest option if you’ve got an exterior wall near your seating area. Make sure you’re hitting studs (16 inches on center, typically) or use a solid backing like plywood anchored into the framing. For brick or stucco, use concrete anchors or toggle bolts rated for the TV’s weight plus mount. Don’t trust drywall anchors on an exterior wall, moisture and temperature cycling weaken them.
Post mounts work well in open yards where there’s no nearby structure. Sink a 4×4 pressure-treated post at least 24 inches deep in concrete, or go with a galvanized steel pole for a cleaner look. Check local frost line depth, posts need to go below it to avoid heaving. Let concrete cure for 48 hours before mounting hardware.
Ceiling mounts under covered patios or pergolas keep the TV out of the weather and free up wall space. Use a drop-down ceiling mount with a weather-resistant finish. Make sure you’re anchoring into joists or blocking, not just decking or roofing material.
Glare is the enemy. Position the TV so it’s not facing direct sun during peak viewing hours. If that’s unavoidable, add a patio cover or awning, or invest in a higher-nit display.
Pergola and Gazebo Installations
Pergolas and gazebos offer built-in mounting points and shade, making them ideal for outdoor TV setups. If you’re working with an existing structure, inspect the framing first. Most pergolas use 2×6 or 2×8 rafters, more than strong enough for a TV mount, but you want to hit solid wood, not just the decorative end caps.
For pergola installs, a ceiling drop mount works best. Run the mount’s support pole to a rafter, and use lag bolts (minimum 3 inches long) into the beam. If your pergola has a louvered or adjustable roof, make sure the TV placement doesn’t interfere with the louvers’ range of motion.
Gazebo setups are similar, but many prefab gazebos have thinner framing. Check the manufacturer’s specs, if the rafters are only 2x4s, you may need to add blocking or a reinforced mounting plate. If the gazebo has a solid roof (shingles, metal), you can mount directly to the underside of the roof decking, provided it’s plywood or OSB, not just lightweight panels.
Cable management is cleaner with these structures. Run power and signal cables up through the posts or along the beams, using exterior-rated cable clips or conduit. If you’re pulling landscape design elements together, plan the TV placement early so wiring can be concealed during construction.
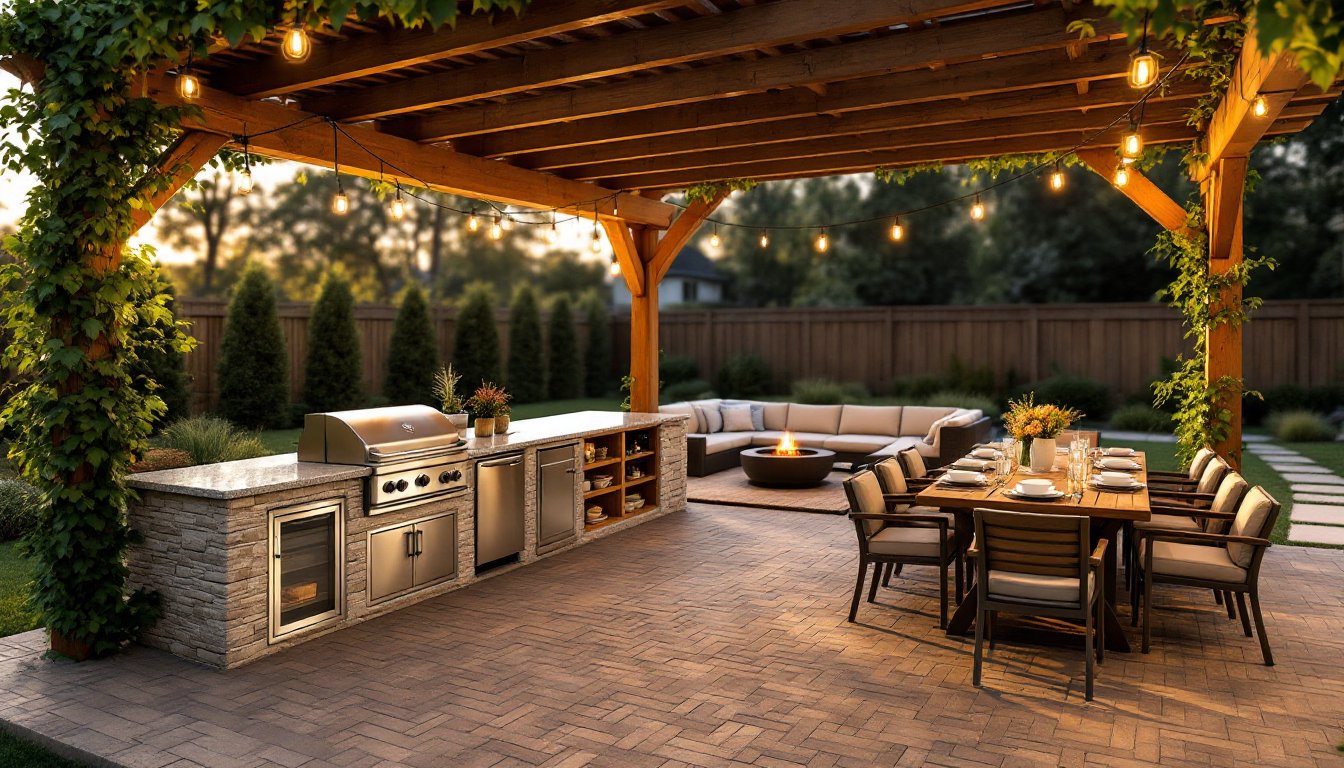
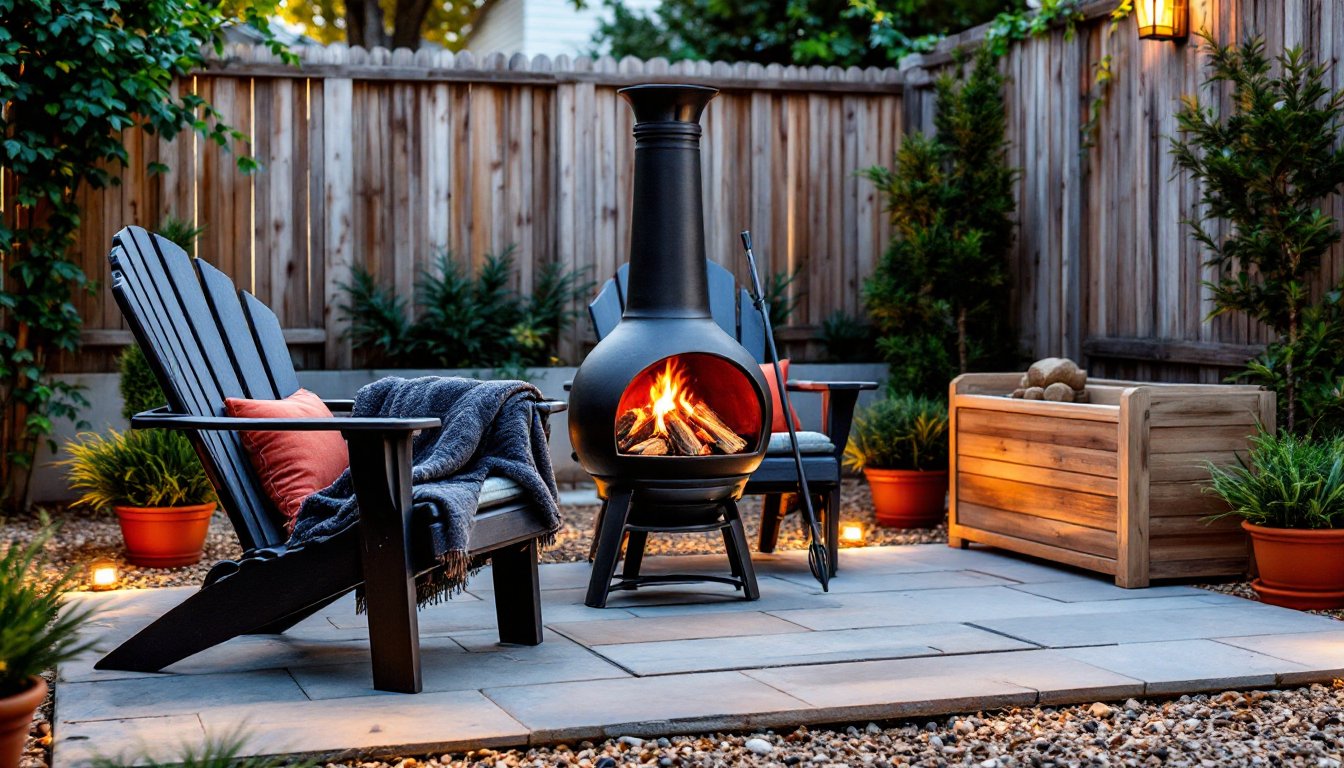
Designing a Cozy Outdoor Viewing Area
A TV alone doesn’t make a great outdoor theater, you need seating, lighting, and layout that actually encourages people to settle in. Start with the seating arrangement. Sectional outdoor sofas or a set of deep Adirondack chairs work better than bistro sets. You want something comfortable enough for a two-hour movie, not just a quick drink.
Viewing angles matter. Arrange seating in a slight arc facing the TV, keeping the center seats within a 30-degree angle from the screen’s center. Side seating should stay within 45 degrees to avoid neck strain. If you’re working with a long narrow patio, consider a swivel mount so the TV can rotate toward different seating zones.
Shade and wind protection are non-negotiable for comfort. A pergola with retractable canopy, a sail shade, or even a large market umbrella will cut glare and keep viewers cool. Windbreaks, lattice panels, outdoor curtains, or a low garden wall, reduce audio issues and keep the space feeling enclosed without being claustrophobic.
Lighting needs to be layered. You don’t want glare on the screen, but you need enough light for safety and ambiance. Use low-voltage LED path lights along walkways, string lights overhead (on a dimmer), and maybe a couple of bollard lights at the perimeter. Keep direct light sources out of viewers’ sightlines. Motion-activated lights near entries are practical but put them on a switch so they don’t trigger mid-movie.
Sound is often overlooked. TV speakers struggle outdoors, sound dissipates fast. Add a weatherproof soundbar or a set of outdoor landscape speakers. Bluetooth models are easy but can have lag: for best sync, run speaker wire from the TV or use a Wi-Fi-based system like Sonos (their outdoor-rated speakers are pricey but worth it for multi-zone audio).
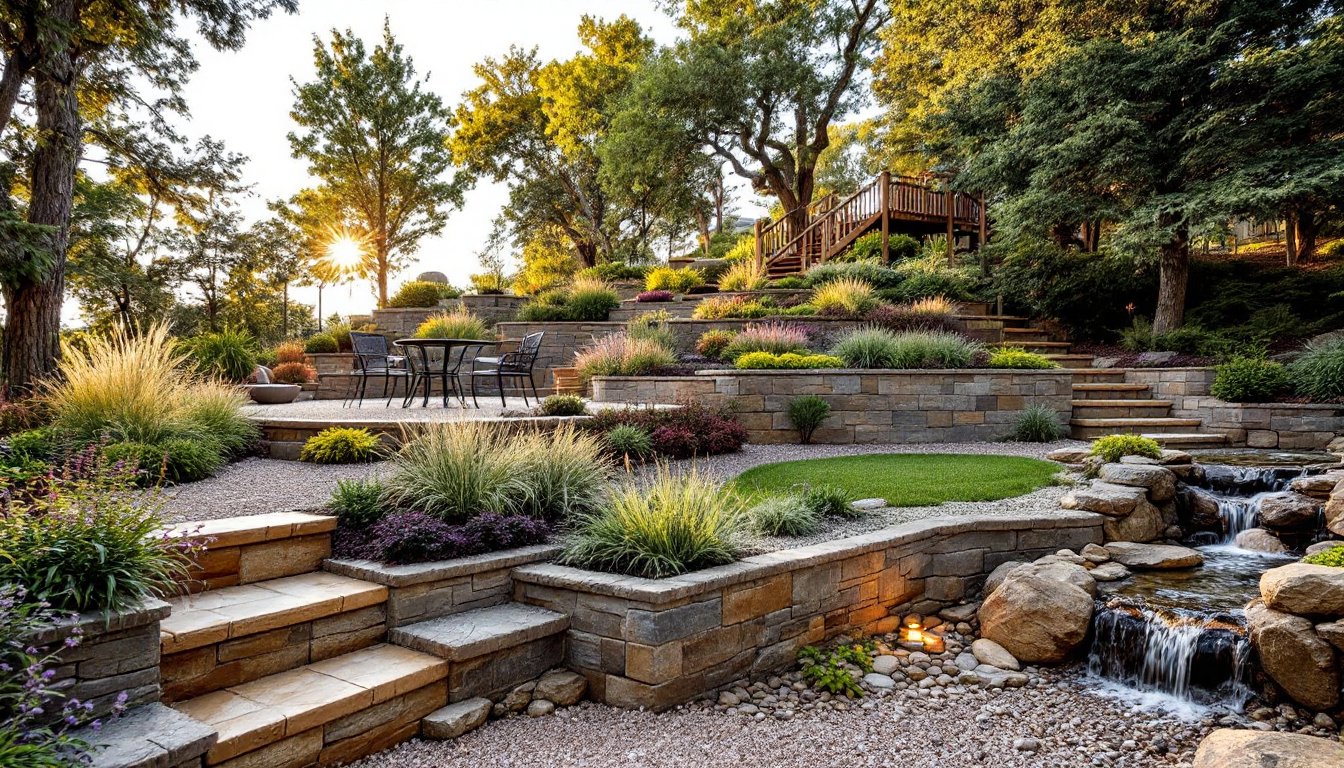
For a more cohesive design, think about how this space ties into the rest of your backyard makeover plans. The TV area shouldn’t feel like an afterthought, it should flow with the deck, fire pit, or dining zone.
Power and Connectivity Solutions for Backyard TVs
Running power to a backyard TV isn’t a job for extension cords. You need a dedicated outdoor circuit installed to code. This typically means a 20-amp GFCI-protected circuit running from your main panel to a weatherproof outlet box near the TV location. Hire a licensed electrician unless you’re comfortable with the National Electrical Code (NEC) and local permitting, most jurisdictions require permits for new outdoor circuits.
The electrician will likely run UF-B (underground feeder) cable if the run goes underground, or THWN wire in conduit for above-ground or wall-mounted runs. Conduit is the safer, more flexible choice, it protects the wire and makes future upgrades easier. Use PVC Schedule 40 conduit for buried runs (minimum 18 inches deep per NEC, or 24 inches in some locales) or metal conduit for exposed runs.
Outlet placement matters. Mount the box behind or below the TV so cords aren’t visible. Use a weatherproof “while-in-use” cover, these have a deeper enclosure that lets you keep a plug inserted and still close the cover. Standard flat covers only protect the outlet when nothing’s plugged in.
For streaming and cable, you’ve got a few options. If you’ve got strong Wi-Fi signal at the install location, most smart TVs will handle streaming without issue. Test signal strength first with your phone, if it’s weak, add a Wi-Fi extender or run Cat6 Ethernet cable alongside the power line for a wired connection. Ethernet is more reliable and eliminates buffering.
If you’re extending cable or satellite service, you’ll need to run coax cable from your existing splitter or DVR. Use quad-shield RG6 coax (not the cheap RG59 stuff) and weatherproof compression fittings. Avoid sharp bends, coax should have a minimum bend radius of about 6 times the cable diameter.
Surge protection is critical. Outdoor electronics are more vulnerable to voltage spikes from storms. Install a whole-house surge protector at the panel, and use a secondary point-of-use surge protector at the TV. Make sure it’s rated for outdoor use.
For larger backyard projects, consider roughing in conduit runs during initial construction, it’s far cheaper than trenching and patching later. And if you’re installing a gazebo, coordinate electrical rough-in with the framing.
Safety reminder: Always turn off power at the breaker before working on electrical. Wear safety glasses and gloves, and if you’re digging for underground runs, call 811 to have utilities marked. GFCI protection is required for all outdoor receptacles per NEC Article 210.8, it’s not optional.
Once power and data are in place, label everything. Use a weatherproof label maker or a permanent marker on the conduit. Future you (or the next owner) will appreciate knowing which breaker feeds the backyard TV and where the Ethernet terminates.