A sloped backyard isn’t a design problem, it’s an opportunity. While a flat yard might feel like a blank slate, a slope gives homeowners the chance to create distinct zones, add visual interest, and maximize usable space in ways that single-level yards can’t match. Two-level backyards allow for tiered gardens, separate living areas, and dynamic landscaping that works with the natural contours instead of fighting against them. Whether dealing with a gentle grade or a steep drop-off, the right approach transforms what many see as a challenge into a backyard that’s more functional and visually compelling than any flat lot.
Table of Contents
ToggleKey Takeaways
- Two-level backyard ideas transform sloped yards into functional, visually interesting spaces by breaking grades into manageable sections with retaining walls, terracing, and tiered beds that improve drainage and create separate living zones.
- Tiered garden beds cost-effectively add structure to sloped properties, with each level creating its own microclimate—upper tiers for sun-loving plants and lower beds for moisture-loving shade-tolerant species.
- Retaining walls serve dual purposes: they hold soil while creating distinct outdoor rooms and seating surfaces, with interlocking concrete blocks and natural stone being popular options for two-level yard designs.
- Pairing elevated decks with ground-level patios maximizes usable space and works particularly well when houses sit higher than the yard, with stairs built to residential standards (7-inch rise, 11-inch tread) to safely connect levels.
- DIY two-level backyard projects can deliver impact for under $2,000 using budget-friendly materials like landscape timbers, concrete blocks, and flagstone, making multi-level designs accessible to homeowners on tight budgets.
- Proper transitions between levels—including non-slip stairs, 36–48 inch-wide pathways, and consistent material choices—ensure safety and visual cohesion throughout two-level backyards.
Why Multi-Level Backyards Are Perfect for Sloped Properties
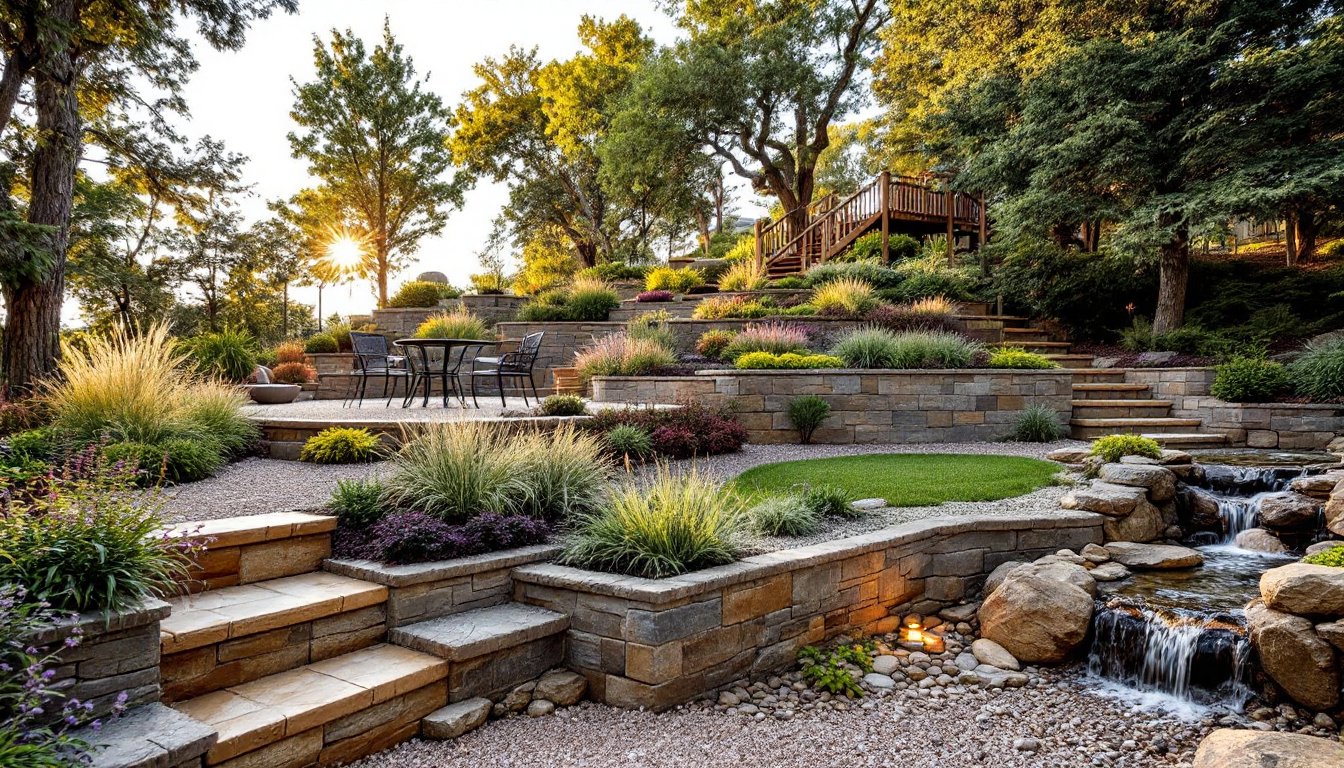
Slopes create drainage issues, erosion problems, and awkward dead zones that are hard to mow or use. Multi-level designs solve these issues by breaking the grade into manageable sections with retaining structures, terracing, or built platforms.
From a practical standpoint, terracing reduces runoff velocity and gives water time to percolate into the soil rather than sheeting off the surface. This matters for foundation protection and plant health. It also creates flat, usable spaces where furniture actually sits level and kids can play without rolling downhill.
Visually, elevation changes add depth and dimension. A two-level yard feels larger because the eye travels vertically as well as horizontally. Retaining walls, steps, and planters create natural borders between spaces, no need for fences or hedges to define a dining area versus a play zone.
One structural note: any retaining wall over four feet in height typically requires a building permit and engineering review in most jurisdictions. Walls under that threshold are often DIY-friendly, but local codes vary. If the slope is severe or the soil is unstable (clay, sandy loam, or areas with high water tables), consult a structural engineer or landscape architect before committing to a design.
Tiered Garden Beds and Landscaping Zones
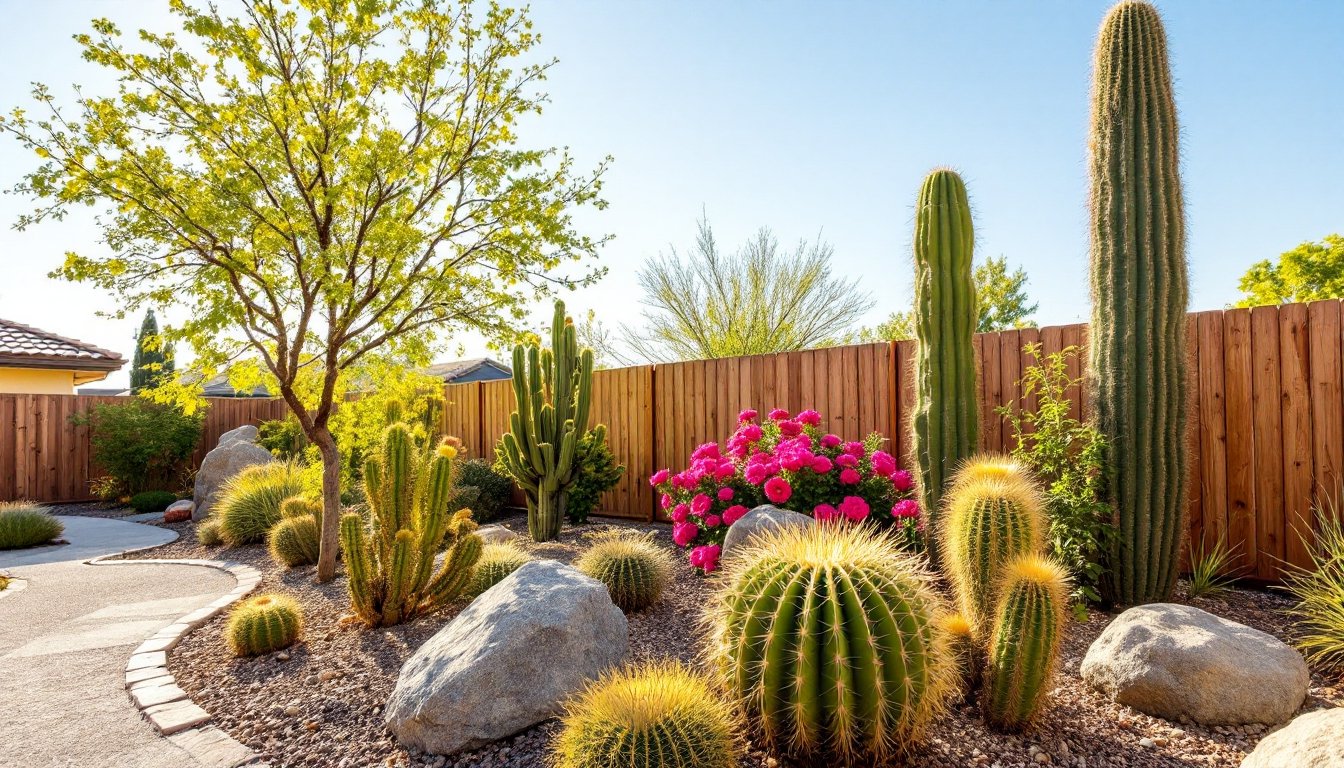
Tiered garden beds are one of the most cost-effective ways to add structure and function to a sloped yard. Each level acts as a planting zone with its own microclimate, upper tiers get more sun and drain faster, while lower beds retain moisture and stay cooler.
For DIY builds, landscape timbers (6×6 treated pine or cedar) or concrete retaining blocks are the go-to materials. Timbers are lighter and easier to cut with a circular saw, but they’ll rot in 10–15 years depending on soil contact and moisture. Concrete blocks last indefinitely and don’t require fasteners, though they’re heavier to move and set.
Each tier should step back at least 18–24 inches from the one below it to allow planting space and reduce the visual bulk of stacked walls. Backfill with a mix of native soil and compost, and add landscape fabric behind the wall to prevent soil migration without blocking drainage.
For plant selection, use the upper beds for sun-loving perennials, herbs, or ornamental grasses. Lower tiers work well for shade-tolerant groundcovers, ferns, or moisture-loving species like hostas. This approach mirrors natural hillside ecosystems and reduces irrigation needs.
Tiered beds also pair well with garden design strategies that layer textures and bloom times across elevation changes.
Creating Separate Living Spaces with Retaining Walls
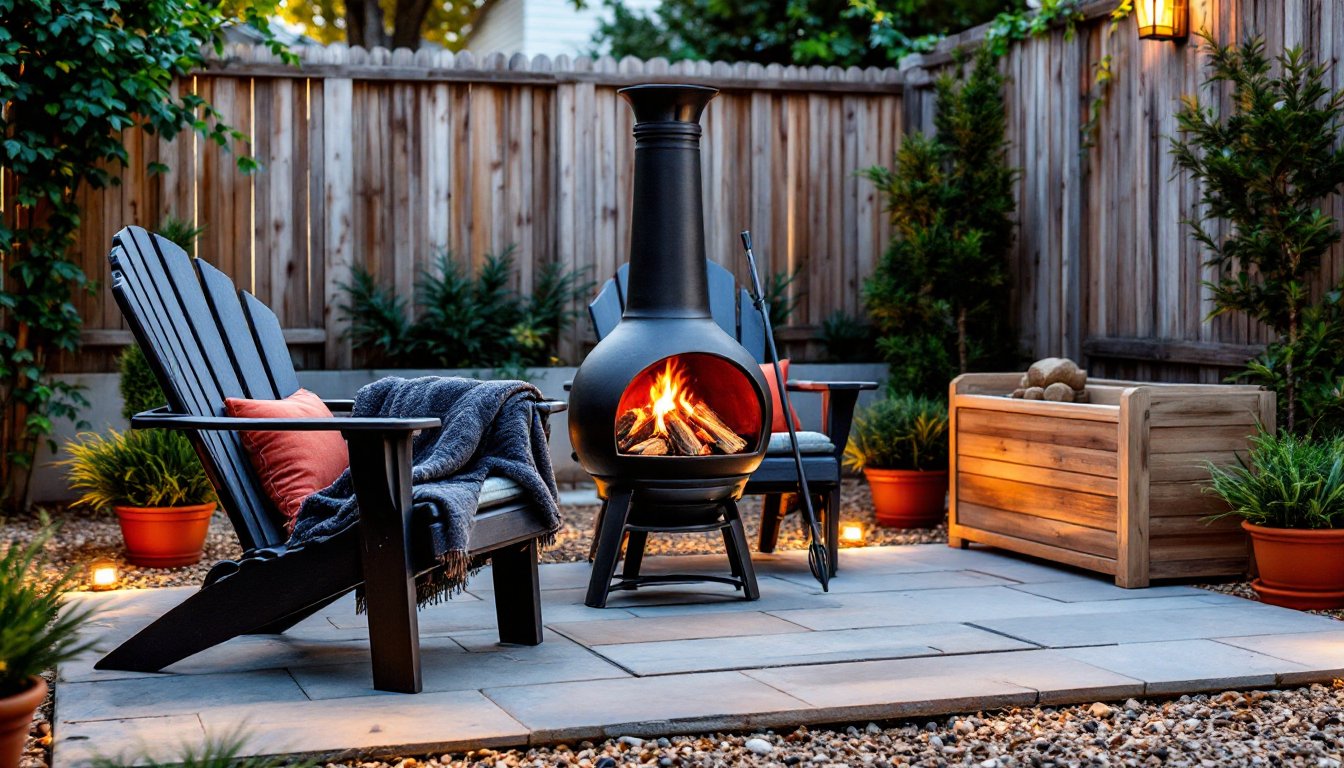
Retaining walls do more than hold back soil, they create distinct outdoor rooms. A well-placed wall can separate a fire pit lounge from a vegetable garden, or frame a dining patio above a play area.
Material options:
- Concrete block: Interlocking systems (like Versa-Lok or Allan Block) are DIY-friendly and don’t require mortar. Expect to pay $15–$25 per square foot of wall face, depending on block style and cap options.
- Natural stone: More expensive ($40–$80/sq ft installed) but visually softer. Dry-stacked stone requires skill to achieve proper batter (backward lean) and drainage.
- Treated timber or railroad ties: Budget option at $8–$12/sq ft. Anchor with rebar driven through pre-drilled holes into the soil below. Not suitable for walls over three feet.
- Poured concrete: Permanent and strong, but requires formwork, rebar, and often a concrete pump for access. Best left to pros for walls over two feet.
All retaining walls need proper drainage. Install perforated drain tile (4-inch PVC) at the base of the wall, wrapped in filter fabric and bedded in gravel. Without it, hydrostatic pressure builds up and can push the wall out of alignment or cause failure.
For living spaces, cap the wall with flat stones, concrete caps, or thick timber to create informal seating. A 12-inch-wide cap is enough for a drink rest: 18–20 inches works as bench seating. Many landscape transformations rely on retaining walls to unlock usable square footage on slopes.
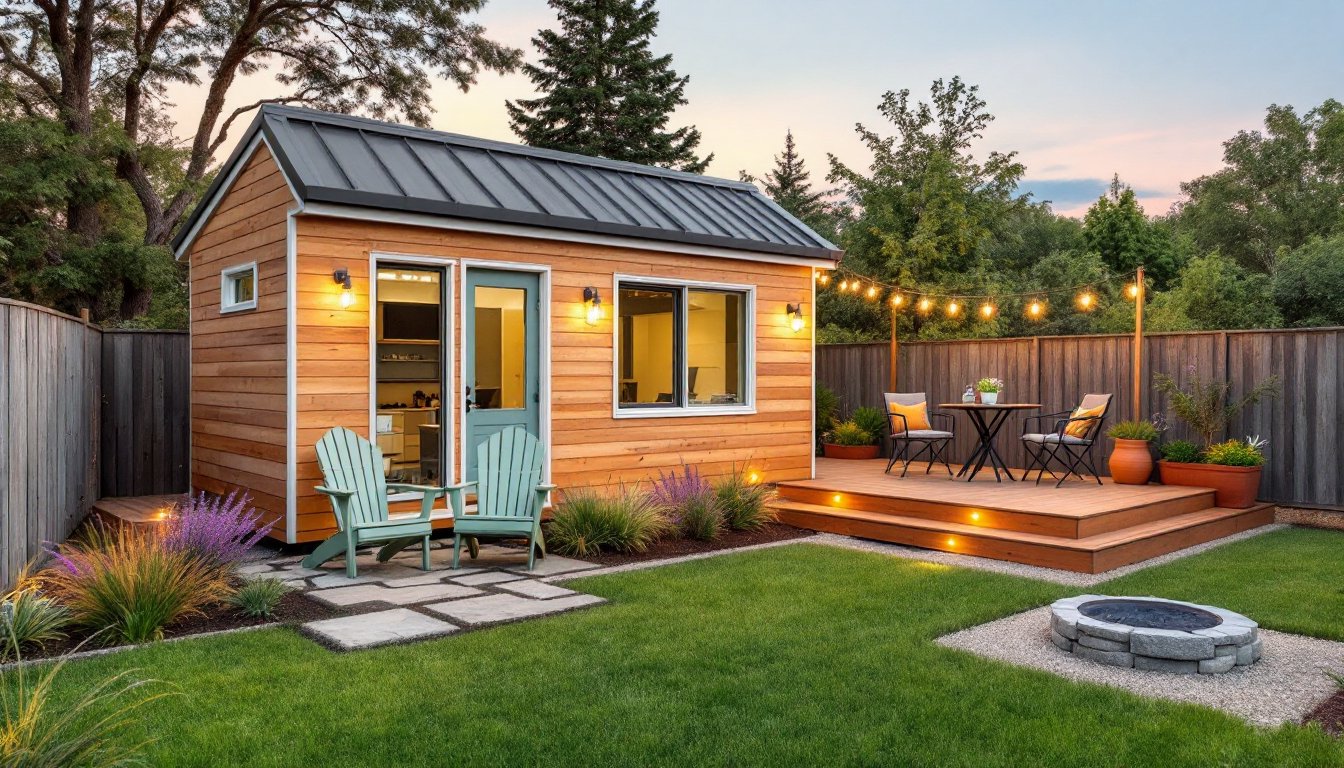
Deck and Patio Combinations for Two-Level Yards
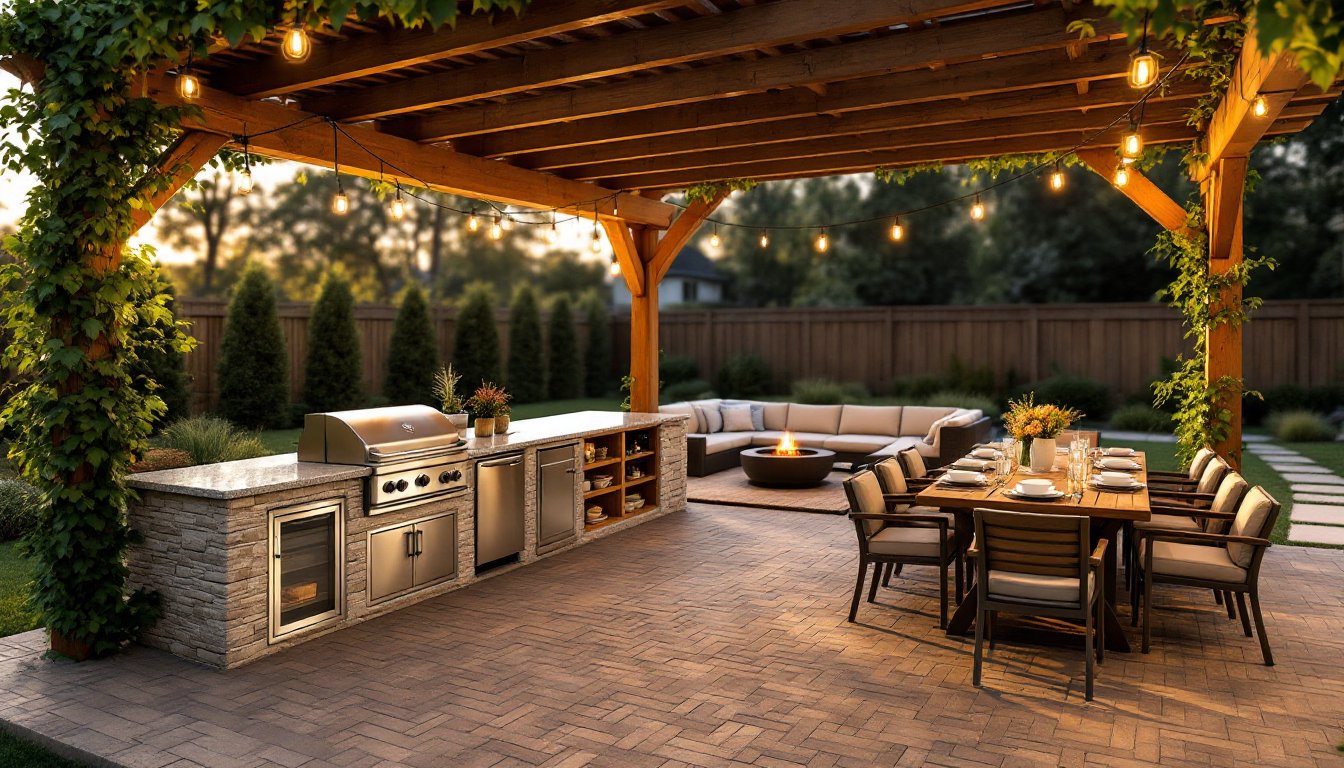
Pairing a ground-level patio with an elevated deck is a classic two-level solution, especially when the house sits higher than the yard. The deck extends living space from the back door, while the patio below creates a secondary zone for fire pits, grilling, or garden access.
Deck considerations:
- Use pressure-treated joists (2×8 or 2×10) on 16-inch centers for residential decks. Composite or PVC decking resists rot and requires less maintenance than wood, though it costs roughly twice as much ($8–$12/sq ft vs. $4–$6 for treated pine).
- Any deck over 30 inches above grade requires guardrails per IRC code (36-inch minimum height, with balusters spaced no more than 4 inches apart).
- Footings must extend below the frost line, this varies by region (12 inches in the South, 42+ inches in northern climates). Use Sonotubes and poured concrete for posts rather than setting posts directly in soil.
Patio options below:
- Concrete: Durable and low-maintenance. A 4-inch slab over compacted gravel base works for most residential use. Stamp or stain for visual interest.
- Pavers: More flexible on uneven ground. Use polymeric sand in joints to lock pavers and resist weed growth.
- Gravel or decomposed granite: Budget-friendly at $2–$4/sq ft. Edge with steel or aluminum to contain migration.
Connect the two levels with stairs that match the deck framing, 7-inch rise and 11-inch tread is the standard residential ratio for comfortable climbing. Stairs should feel like an intentional design feature, not an afterthought. For inspiration on combining hardscape elements, professionals often reference established design principles that balance aesthetics and function.
Connecting Your Levels with Stairs, Pathways, and Terracing
Transitions between levels need to be safe, intuitive, and visually cohesive. Poorly planned steps or paths break the flow and create trip hazards.
Outdoor stair basics:
- Treads should be at least 12 inches deep for outdoor use (deeper than interior stairs). Risers should stay between 6 and 7.5 inches.
- Use non-slip materials, grooved composite, textured stone, or concrete with a broom finish. Smooth stone or tile gets dangerously slick when wet.
- Landings every 12–15 steps reduce fatigue and improve safety on long runs.
- Install lighting on risers or adjacent posts, low-voltage LED systems are DIY-friendly and pull less than 100 watts total.
Pathways and terracing:
Switchback paths work well when the slope is too steep for straight stairs. Decomposed granite, flagstone, or mulch paths should be 36–48 inches wide for single-file traffic. Edge with steel or treated 2x4s to define the route and contain fill.
Terracing, creating a series of level platforms stepping down the slope, softens long grade changes. Each terrace can hold a different function: upper terrace for dining, mid-level for planting beds, lower level for lawn or a water feature.
For visual continuity, match materials across levels. If the retaining walls are stacked stone, use the same stone for stair treads and path edging. Many budget-focused transformations rely on repeating a single affordable material rather than mixing too many finishes.
Budget-Friendly DIY Two-Level Backyard Projects
Not every multi-level backyard requires a contractor and a five-figure budget. Several projects deliver big impact for under $2,000 in materials if homeowners are willing to do the labor.
Timber-frame terraced beds:
Build two or three tiers using 6×6 landscape timbers. For a 20-foot-wide yard with three 8-inch-tall tiers, expect to spend $300–$500 on timbers, $100 on gravel and fabric, and $200 on soil and plants. Cut timbers with a circular saw (a miter saw makes cleaner cuts but isn’t necessary). Drill and anchor with 12-inch rebar every 4 feet.
Gravel patio with step-up garden:
Excavate a lower patio area 4 inches deep, line with landscape fabric, and fill with crushed granite or pea gravel ($50–$80 per ton, delivered). Frame with treated 4x4s. Build a raised bed along the uphill edge using stacked concrete blocks (no mortar needed). Total cost: $400–$700 for a 10×12 patio and 12-foot bed.
DIY flagstone steps:
Use natural flagstone (1.5–2 inches thick) for treads, set on a gravel base. Risers can be stacked stone or landscape timbers. For a six-step run, budget $200–$350 for stone and $100 for gravel and sand. This is a weekend project for someone comfortable with a level, tamper, and shovel.
Pallet wood retaining wall:
For non-structural, low-height borders (under 18 inches), disassemble shipping pallets and use the planks as vertical facing, backed by posts driven into the slope. This won’t hold back significant soil pressure, but it defines edges and looks intentional. Cost: nearly free if pallets are sourced locally. Similar affordable makeover strategies emphasize doing more with less by focusing on high-visibility zones first.
Safety and permits:
Even DIY projects may require permits if they involve retaining walls over a certain height, electrical for lighting, or significant grading. Check local building department requirements before starting. Wear gloves, safety glasses, and steel-toe boots when handling stone, timbers, or power tools.
Conclusion
A sloped yard isn’t a limitation, it’s an invitation to build something more interesting than a flat lawn. Two-level designs create functional zones, improve drainage, and add visual depth that makes outdoor spaces feel intentional and well-used. Whether the approach involves retaining walls, tiered beds, or a combination of decking and patios, working with the slope rather than against it delivers a backyard that’s both practical and rewarding to use.