The sound of flowing water has a way of turning any outdoor space from ordinary to extraordinary. A backyard stream isn’t just a landscaping element, it’s a living feature that brings movement, sound, and wildlife to your yard. Whether it’s carved through a hillside or meandering through a garden bed, a well-executed stream adds value and creates a peaceful retreat right outside the back door. Building one requires careful planning and some sweat equity, but the result is worth it.
Table of Contents
ToggleKey Takeaways
- A backyard stream ideas into reality requires at least 2% grade to let gravity power the water flow naturally, avoiding excessive pump costs.
- Pondless stream systems recirculate water underground, making them safer for families with children and requiring less maintenance than traditional pond features.
- Natural stone in mixed sizes creates authentic creek beds that look organic, while consistent uniform stone looks artificial and unnatural.
- Proper pump sizing is critical: a 6–12 inch wide, 10–15 foot stream needs 1,000–1,500 GPH, with an additional 200 GPH per foot of waterfall height.
- Always call 811 before excavation to locate utilities, and check local codes for permit requirements on water features deeper than 18 inches or holding over 300 gallons.
- Marginal plants like Japanese iris and cardinal flower enhance aesthetics while supporting wildlife, but invasive species like purple loosestrife must be avoided entirely.
Why Add a Stream to Your Backyard?
A backyard stream offers more than just curb appeal. The constant movement of water naturally aerates and helps prevent mosquito breeding, unlike stagnant ponds. Birds, butterflies, and beneficial insects are drawn to moving water, creating a mini ecosystem that supports local wildlife.
From a property value standpoint, water features consistently rank high among landscape improvements that buyers notice. A stream can also solve drainage problems by redirecting runoff in a controlled, attractive way, though this requires proper grading and possibly a permit depending on local stormwater regulations.
The ambient sound masks neighborhood noise, creating a buffer zone that makes the yard feel more private. And unlike a pool or hot tub, a stream operates year-round in most climates with minimal winterization.
Planning Your Backyard Stream: Location and Design Considerations
Before digging, walk the yard and identify natural slopes or low spots. Streams work best when gravity does the heavy lifting. A natural grade of at least 2% (a 2-foot drop per 100 linear feet) creates enough movement without requiring excessive pump power.
Mark the proposed path with garden hoses or spray paint. Curves look more organic than straight lines, aim for a meandering route that mimics natural waterways. Avoid placing the stream directly under large trees: roots complicate excavation and falling leaves create constant maintenance.
Pump sizing matters. Calculate the desired flow rate (measured in gallons per hour, or GPH) based on stream width and length. A general rule: a stream 6–12 inches wide and 10–15 feet long needs a pump rated for 1,000–1,500 GPH. Wider or longer streams require proportionally more flow. Check the pump’s maximum lift height (vertical distance it can push water) to ensure it matches your elevation change.
Utility clearance is non-negotiable. Call 811 or your local utility locator service before breaking ground. Hitting a gas line or fiber optic cable turns a weekend project into a nightmare. Some municipalities also require permits for water features over a certain size or depth, typically anything holding more than 300 gallons or deeper than 18 inches. Verify local codes before committing.
Consider integrating the stream into your broader backyard landscape design to ensure visual cohesion with existing hardscaping and plantings.
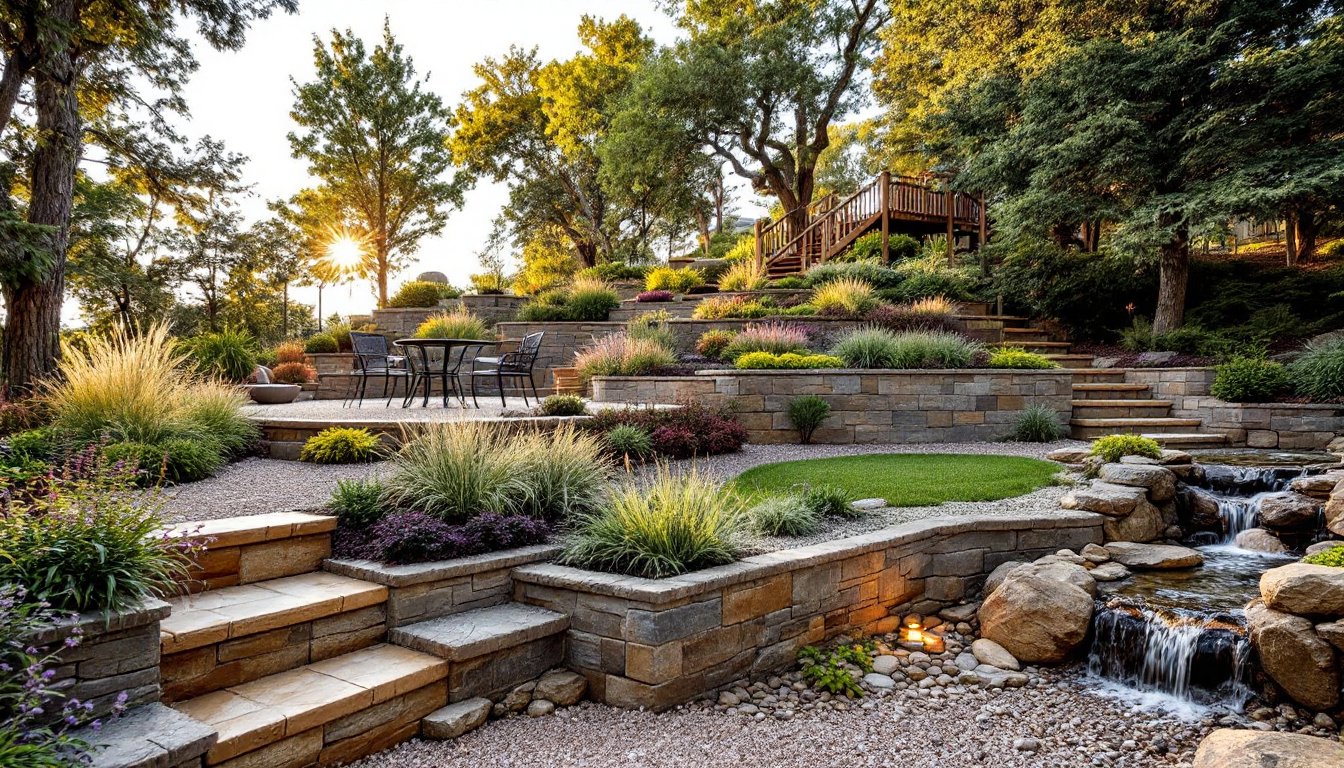
Natural Stone Stream Designs
Natural stone creates the most convincing creek bed. River rock in mixed sizes (1–6 inches) works well for the streambed itself, while larger boulders (50–200 lbs) anchor the banks and create visual interest. Avoid uniform, polished stone, it screams “Home Depot” instead of “mountain runoff.”
Excavate the channel 12–18 inches deep and 12–24 inches wide, depending on desired flow. Line the trench with landscape fabric to suppress weeds, then add a layer of EPDM rubber liner (45-mil thickness minimum) to retain water. Overlap seams by at least 6 inches and use liner tape designed for underwater use.
Place larger stones first to define edges and create structure. Nestle them into the liner, then backfill with smaller river rock to disguise the rubber. Vary stone sizes and colors for a natural look, real streams don’t have sorted gravel.
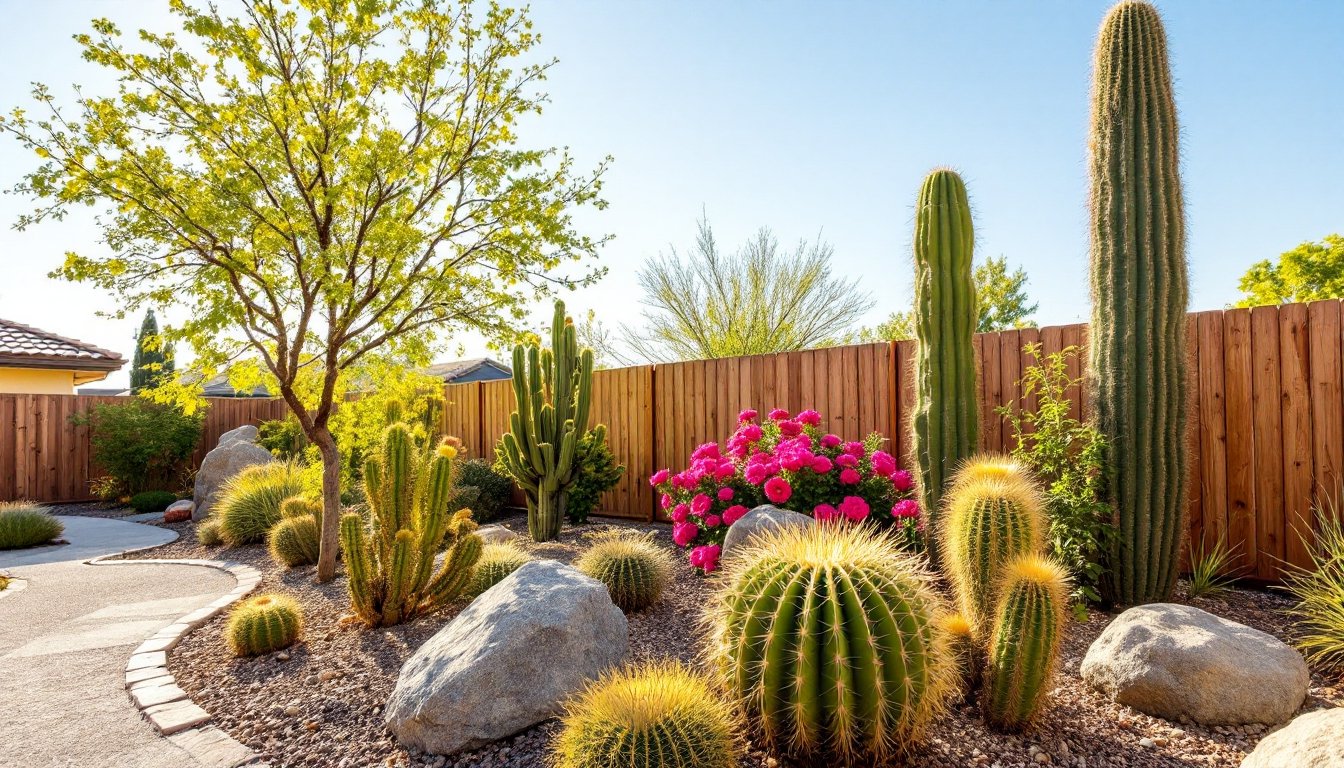
For a dry creek bed that channels rainwater but doesn’t run continuously, skip the liner and pump. Dig the channel, lay landscape fabric, and fill with stone. This approach is featured in many low-water landscaping ideas and works well in arid climates or areas with drainage issues.
Pondless Stream Systems for Low-Maintenance Beauty
A pondless stream recirculates water into an underground reservoir instead of a visible pond. It’s safer for households with young kids, requires less maintenance (no pond cleaning), and uses less water due to reduced evaporation.
The system consists of three main components: a pump vault (buried reservoir), a pump, and the stream itself. Dig a reservoir pit at the stream’s end point, large enough to hold a pump vault basin (typically 18–24 inches in diameter). Line the pit with geotextile fabric, set the vault, and surround it with clean gravel, ¾-inch crushed stone works well for drainage.
Run flexible PVC tubing from the pump (inside the vault) up to the stream’s starting point. Bury the tubing alongside the streambed trench, keeping it frost-depth if in a cold climate (typically 18–24 inches below grade in northern zones).
The water flows downhill over the streambed and drains through the river rock into the vault, where the pump recycles it. Cover the vault with a sturdy grate designed for pondless systems, it needs to support the weight of stone and foot traffic. Top with decorative river rock to blend it in.
This setup is ideal for homeowners exploring backyard makeover options who want impact without ongoing pond maintenance.
Adding Waterfalls and Cascades to Your Stream
A waterfall or cascade adds drama and increases oxygenation. Waterfall spillways, pre-formed units that create a clean, consistent pour, simplify installation. They’re available in widths from 6 to 24 inches and attach to the stream at natural high points.
For a DIY approach, use flat flagstone or stacked slate to build a spillway. The key is a level lip, use a 4-foot level to ensure the water sheets evenly across the stone rather than trickling from one corner. Secure stones with waterfall foam sealant, which remains flexible and won’t crack with freeze-thaw cycles.
Create multiple small drops rather than one large fall if working with limited elevation. A series of 6-inch cascades over 10 feet looks and sounds better than a single 2-foot drop. Each step should have a small catch basin (a depression in the streambed) to slow and aerate the water.
Pump requirements increase with waterfall height. For every foot of vertical lift, add roughly 200 GPH to your pump capacity. A 3-foot waterfall with a 12-inch spillway needs a pump rated for at least 2,000 GPH to achieve a full, impressive flow.
Safety note: Wet stone is slippery. If the waterfall is accessible, choose textured stone and consider where people might step. According to resources like The Spruce, anti-slip treatments or careful material selection can prevent accidents.
Planting and Landscaping Around Your Stream
Plants soften the hardscape and integrate the stream into the broader landscape. Choose species that thrive in moisture-rich soil near the stream banks, and drought-tolerant varieties farther out.
Marginal plants for the stream edge include:
- Japanese iris (Iris ensata): Tolerates wet soil, blooms in early summer, zones 4–9
- Cardinal flower (Lobelia cardinalis): Bright red blooms attract hummingbirds, zones 3–9
- Creeping Jenny (Lysimachia nummularia): Low groundcover that drapes over rocks, zones 4–9
- Ostrich fern (Matteuccia struthiopteris): Large, dramatic foliage for shaded streams, zones 3–7
Avoid invasive species like purple loosestrife or yellow flag iris, which can escape cultivation and choke native waterways.
Mulch around plantings with shredded hardwood bark to retain moisture and suppress weeds. Keep mulch 2–3 inches away from plant stems to prevent rot.
For broader context on plant selection and design cohesion, many homeowners find value in exploring comprehensive backyard landscaping designs that account for both wet and dry zones.
Lighting extends enjoyment into evening hours. Low-voltage LED spotlights (12V systems) are safe near water and highlight waterfalls or interesting stone formations. Bury transformer boxes away from the stream to prevent water damage. Consider uplighting larger plants or boulders for dramatic shadows. Regional guides like Sunset often feature outdoor lighting strategies tailored to different climates.
Conclusion
Building a backyard stream takes planning, muscle, and attention to detail, but it’s a project most DIYers can tackle over a few weekends. Start with a solid plan that accounts for grade, drainage, and pump capacity. Choose materials that fit the landscape, natural stone for a rustic look, or a pondless system for low maintenance. And don’t skimp on prep work: proper excavation and liner installation prevent headaches down the road. The result is a feature that adds year-round interest and turns the backyard into a destination rather than an afterthought.